
I've been playing with an
Orbic Speed, a relatively outdated device that only speaks LTE Cat 4, but the towers I can see from here are, uh, not well provisioned so throughput really isn't a concern (and refurbs are $18, so). As usual I'm pretty terrible at just buying devices and using them for their intended purpose, and in this case it has the irritating behaviour that if there's a power cut and the battery runs out it doesn't boot again when power returns, so here's what I've learned so far.
First, it's clearly running Linux (nmap indicates that, as do the headers from the built-in webserver). The login page for the web interface has some text reading "Open Source Notice" that highlights when you move the mouse over it, but that's it - there's code to make the text light up, but it's not actually a link. There's no exposed license notices at all, although there is a copy on the filesystem that doesn't seem to be reachable from anywhere. The notice tells you to email them to receive source code, but doesn't actually provide an email address.
Still! Let's see what else we can figure out. There's no open ports other than the web server, but there is an
update utility that includes some interesting components. First, there's a copy of adb, the
Android Debug Bridge. That doesn't mean the device is running Android, it's common for embedded devices from various vendors to use a bunch of Android infrastructure (including the bootloader) while having a non-Android userland on top. But this is still slightly surprising, because the device isn't exposing an adb interface over USB. There's also drivers for various Qualcomm endpoints that are, again, not exposed. Running the utility under Windows while the modem is connected results in the modem rebooting and Windows talking about new hardware being detected, and watching the device manager shows a bunch of COM ports being detected and bound by Qualcomm drivers. So, what's it doing?
Sticking the utility into Ghidra and looking for strings that correspond to the output that the tool conveniently leaves in the logs subdirectory shows that after finding a device it calls vendor_device_send_cmd(). This is implemented in a copy of
libusb-win32 that, again, has no offer for source code. But it's also easy to drop that into Ghidra and discover thatn vendor_device_send_cmd() is just a wrapper for
usb_control_msg(dev,0xc0,0xa0,0,0,NULL,0,1000);. Sending that from Linux results in the device rebooting and suddenly exposing some more USB endpoints, including a functional adb interface. Although, annoyingly, the rndis interface that enables USB tethering via the modem is now missing.
Unfortunately the adb user is unprivileged, but most files on the system are world-readable.
data/logs/atfwd.log is especially interesting. This modem has an application processor built into the modem chipset itself, and while the modem implements the
Hayes Command Set there's also a mechanism for userland to register that certain AT commands should be pushed up to userland. These are handled by the
atfwd_daemon that runs as root, and conveniently logs everything it's up to. This includes having logged all the communications executed when the update tool was run earlier, so let's dig into that.
The system sends a bunch of
AT+SYSCMD= commands, each of which is in the form of
echo (stuff) >>/usrdata/sec/chipid. Once that's all done, it sends
AT+CHIPID, receives a response of
CHIPID:PASS, and then
AT+SER=3,1, at which point the modem reboots back into the normal mode - adb is gone, but rndis is back. But the logs also reveal that between the CHIPID request and the response is a security check that involves RSA. The logs on the client side show that the text being written to the chipid file is a single block of
base64 encoded data. Decoding it just gives apparently random binary. Heading back to Ghidra shows that atfwd_daemon is reading the chipid file and then decrypting it with an RSA key. The key is obtained by calling a series of functions, each of which returns a long base64-encoded string. Decoding each of these gives 1028 bytes of high entropy data, which is then passed to another function that decrypts it using
AES CBC using a key of
000102030405060708090a0b0c0d0e0f and an initialization vector of all 0s. This is somewhat weird, since there's 1028 bytes of data and 128 bit AES works on blocks of 16 bytes. The behaviour of OpenSSL is apparently to just pad the data out to a multiple of 16 bytes, but that implies that we're going to end up with a block of garbage at the end. It turns out not to matter - despite the fact that we decrypt 1028 bytes of input only the first 200 bytes mean anything, with the rest just being garbage. Concatenating all of that together gives us a PKCS#8 private key blob in PEM format. Which means we have not only the private key, but also the public key.
So, what's in the encrypted data, and where did it come from in the first place? It turns out to be a JSON blob that contains the IMEI and the serial number of the modem. This is information that can be read from the modem in the first place, so it's not secret. The modem decrypts it, compares the values in the blob to its own values, and if they match sets a flag indicating that validation has succeeeded. But what encrypted it in the first place? It turns out that the json blob is just POSTed to
http://pro.w.ifelman.com/api/encrypt and an encrypted blob returned. Of course, the fact that it's being encrypted on the server with the public key and sent to the modem that decrypted with the private key means that having access to the modem gives us the public key as well, which means we can just encrypt our own blobs.
What does that buy us? Digging through the code shows the only case that it seems to matter is when parsing the
AT+SER command. The first argument to this is the serial mode to transition to, and the second is whether this should be a temporary transition or a permanent one. Once parsed, these arguments are passed to
/sbin/usb/compositions/switch_usb which just writes the mode out to
/usrdata/mode.cfg (if permanent) or
/usrdata/mode_tmp.cfg (if temporary). On boot,
/data/usb/boot_hsusb_composition reads the number from this file and chooses which USB profile to apply. This requires no special permissions, except if the number is 3 - if so, the RSA verification has to be performed first. This is somewhat strange, since mode 9 gives the same rndis functionality as mode 3, but also still leaves the debug and diagnostic interfaces enabled.
So what's the point of all of this? I'm honestly not sure! It doesn't seem like any sort of effective enforcement mechanism (even ignoring the fact that you can just create your own blobs, if you change the IMEI on the device somehow, you can just POST the new values to the server and get back a new blob), so the best I've been able to come up with is to ensure that there's some mapping between IMEI and serial number before the device can be transitioned into production mode during manufacturing.
But, uh, we can just ignore all of this anyway. Remember that
AT+SYSCMD= stuff that was writing the data to
/usrdata/sec/chipid in the first place? Anything that's passed to
AT+SYSCMD is just executed as root. Which means we can just write a new value (including 3) to
/usrdata/mode.cfg in the first place, without needing to jump through any of these hoops. Which also means we can just adb push a shell onto there and then use the AT interface to make it suid root, which avoids needing to figure out how to exploit any of the bugs that are just sitting there given it's running a 3.18.48 kernel.
Anyway, I've now got a modem that's got working USB tethering and also exposes a working adb interface, and I've got root on it. Which let me dump the bootloader and discover that it implements
fastboot and has an
oem off-mode-charge command which solves the problem I wanted to solve of having the device boot when it gets power again. Unfortunately I still need to get into fastboot mode. I haven't found a way to do it through software (
adb reboot bootloader doesn't do anything), but
this post suggests it's just a matter of grounding a test pad, at which point I should just be able to run
fastboot oem off-mode-charge and it'll be all set. But that's a job for tomorrow.
Edit: Got into fastboot mode and ran
fastboot oem off-mode-charge 0 but sadly it doesn't actually do anything, so I guess next is going to involve patching the bootloader binary. Since it's signed with a cert titled "General Use Test Key (for testing only)" it apparently doesn't have secure boot enabled, so this should be easy enough.

comments
 A new (mostly maintenance) release 0.2.3 of RcppTOML is
now on CRAN.
TOMLis a file format that is most
suitable for configurations, as it is meant to be edited by
humans but read by computers. It emphasizes strong readability
for humans while at the same time supporting strong typing
as well as immediate and clear error reports. On small typos
you get parse errors, rather than silently corrupted garbage. Much
preferable to any and all of XML, JSON or YAML though sadly these may
be too ubiquitous now. TOML is
frequently being used with the projects such as the Hugo static blog compiler, or the Cargo system of Crates (aka packages )
for the Rust
language.
This release was tickled by another CRAN request: just like
yesterday s and the RcppDate
release two days ago, it responds to the esoteric whitespace in
literal operator depreceation warning. We alerted upstream too.
The short summary of changes follows.
A new (mostly maintenance) release 0.2.3 of RcppTOML is
now on CRAN.
TOMLis a file format that is most
suitable for configurations, as it is meant to be edited by
humans but read by computers. It emphasizes strong readability
for humans while at the same time supporting strong typing
as well as immediate and clear error reports. On small typos
you get parse errors, rather than silently corrupted garbage. Much
preferable to any and all of XML, JSON or YAML though sadly these may
be too ubiquitous now. TOML is
frequently being used with the projects such as the Hugo static blog compiler, or the Cargo system of Crates (aka packages )
for the Rust
language.
This release was tickled by another CRAN request: just like
yesterday s and the RcppDate
release two days ago, it responds to the esoteric whitespace in
literal operator depreceation warning. We alerted upstream too.
The short summary of changes follows.
 Yes, that s right: today, April 6, I get a notification that they removed a post from August 12. The notification was dated April 4, but only showed up for me today.
I wonder why my post from August 12 was fine for nearly 8 months, and then all of a sudden, when the same website runs an article critical of Facebook, my 8-month-old post is a problem. Hmm.
Yes, that s right: today, April 6, I get a notification that they removed a post from August 12. The notification was dated April 4, but only showed up for me today.
I wonder why my post from August 12 was fine for nearly 8 months, and then all of a sudden, when the same website runs an article critical of Facebook, my 8-month-old post is a problem. Hmm.
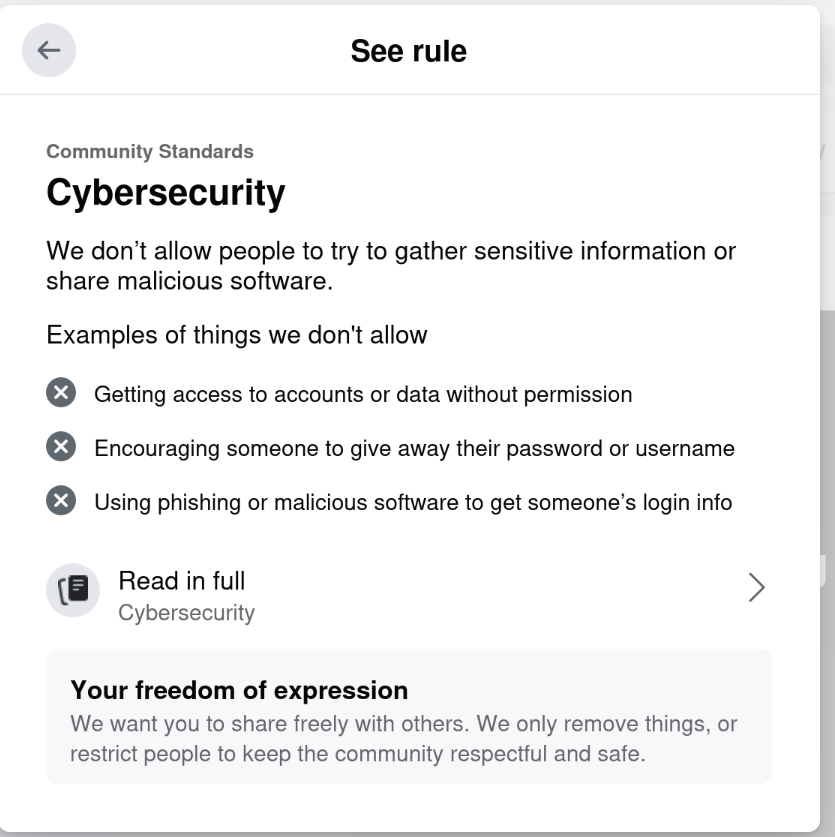 Riiiiiight. Cybersecurity.
This isn t even the first time they ve done this to me.
On September 11, 2021, they
Riiiiiight. Cybersecurity.
This isn t even the first time they ve done this to me.
On September 11, 2021, they 
 QNAP TS-453mini product photo
 The logo for QNAP HappyGet 2 and Blizzard s StarCraft 2 side by side
 Thermalright AXP120-X67, AMD Ryzen 5 PRO 5650GE, ASRock Rack X570D4I-2T, all assembled and running on a flat surface
 Memtest86 showing test progress, taken from IPMI remote control window
 Screenshot of PCIe 16x slot bifurcation options in UEFI settings, taken from IPMI remote control window
 Internal image of Silverstone CS280 NAS build. Image stolen from
  Internal image of Silverstone CS280 NAS build. Image stolen from
  NAS build in Silverstone SUGO 14, mid build, panels removed
 Silverstone SUGO 14 from the front, with hot swap bay installed
 Storage SSD loaded into hot swap sled
 TrueNAS Dashboard screenshot in browser window
 The final system, powered up
 As we all know, this year is a very special year for the Debian project, the
project turns 30!
As we all know, this year is a very special year for the Debian project, the
project turns 30!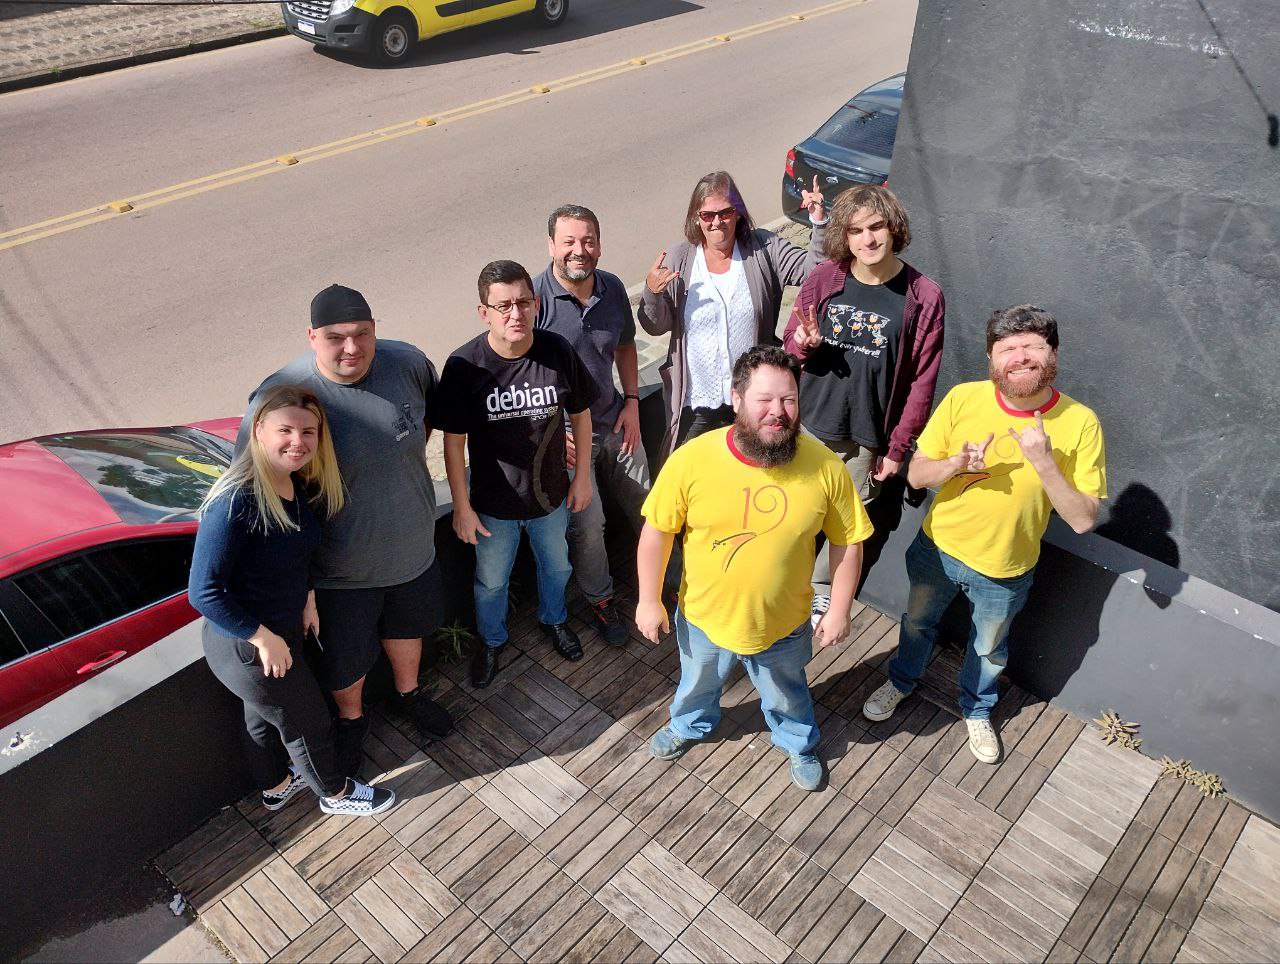
 I wrote the
  Wrong sort of shim, but canned language bindings would be handy
 This is what I imagine it looks like inside these libraries


 I recently bought a refurbished thinkpad x260. If you have read my
post of my <a href= <!DOCTYPE html>
Laptop refreshment
I recently bought a refurbished thinkpad x260. If you have read my
post of my <a href= <!DOCTYPE html>
Laptop refreshment


 A
A 
 Too much word here and there I decided to do a visit. I took a motorbike and started a journey to Munnar. Due to covid restrictions there weren t much tourists, so this was to my advantage. There are many water falls on the way to Munnar. Some are very close to road and some are far away but can be spotted. Munnar travel is just not about the destination because its never been a single spot. Enjoying the journey that the ride has to offer.
I stayed at a hotel, little far away from town, though I never recommend hotels in Munnar. Try to find home stays and small establishments away from the town. There are British Era bungalows inside the plantations still maintained in good condition which can be booked per room or entire property.
The lush greenery on the Mountains of tea plantation is very refreshing and feast to our eyes. The mornings and evenings of Munnar is something to watch, mountains wrapped in mist slowly uncovering with sunlight and again slipping to mist by dark evening. I planned only to visit places which are less explored by tourists.
People here live a simple life. Most of them are plantation workers. The native people of Munnar are actually tribal folks but since the plantation boom many people from Tamil Nadu(neighboring state) and other parts of Kerala settled here. The houses of this plantation workers resembled Hobbit homes in Shire from Lord of the Rings as they are in the hill slides. The Kannan Devan hills, the biggest hill in area covers more than half of Munnar.
Too much word here and there I decided to do a visit. I took a motorbike and started a journey to Munnar. Due to covid restrictions there weren t much tourists, so this was to my advantage. There are many water falls on the way to Munnar. Some are very close to road and some are far away but can be spotted. Munnar travel is just not about the destination because its never been a single spot. Enjoying the journey that the ride has to offer.
I stayed at a hotel, little far away from town, though I never recommend hotels in Munnar. Try to find home stays and small establishments away from the town. There are British Era bungalows inside the plantations still maintained in good condition which can be booked per room or entire property.
The lush greenery on the Mountains of tea plantation is very refreshing and feast to our eyes. The mornings and evenings of Munnar is something to watch, mountains wrapped in mist slowly uncovering with sunlight and again slipping to mist by dark evening. I planned only to visit places which are less explored by tourists.
People here live a simple life. Most of them are plantation workers. The native people of Munnar are actually tribal folks but since the plantation boom many people from Tamil Nadu(neighboring state) and other parts of Kerala settled here. The houses of this plantation workers resembled Hobbit homes in Shire from Lord of the Rings as they are in the hill slides. The Kannan Devan hills, the biggest hill in area covers more than half of Munnar.
 Two famous Tea companies from Munnar are