Paul Tagliamonte: Domo Arigato, Mr. debugfs
 Years ago, at what I think I remember was DebConf 15, I hacked for a while
on debhelper to
write build-ids to debian binary control files,
so that the
 build-id (more specifically, the ELF note
.note.gnu.build-id) wound up in the Debian apt archive metadata.
I ve always thought this was super cool, and seeing as how Michael Stapelberg
blogged
some great pointers around the ecosystem, including the fancy new debuginfod
service, and the
find-dbgsym-packages
helper, which uses these same headers, I don t think I m the only one.
At work I ve been using a lot of rust,
specifically, async rust using tokio. To try and work on
my style, and to dig deeper into the how and why of the decisions made in these
frameworks, I ve decided to hack up a project that I ve wanted to do ever
since 2015 write a debug filesystem. Let s get to it.
Back to the Future
Time to admit something. I really love Plan 9. It s
just so good. So many ideas from Plan 9 are just so prescient, and everything
just feels right. Not just right like, feels good like, correct. The
bit that I ve always liked the most is 9p, the network protocol for serving
a filesystem over a network. This leads to all sorts of fun programs, like the
Plan 9 ftp client being a 9p server you mount the ftp server and access
files like any other files. It s kinda like if fuse were more fully a part
of how the operating system worked, but fuse is all running client-side. With
9p there s a single client, and different servers that you can connect to,
which may be backed by a hard drive, remote resources over something like SFTP, FTP, HTTP or even purely synthetic.
The interesting (maybe sad?) part here is that 9p wound up outliving Plan 9
in terms of adoption 9p is in all sorts of places folks don t usually expect.
For instance, the Windows Subsystem for Linux uses the 9p protocol to share
files between Windows and Linux. ChromeOS uses it to share files with Crostini,
and qemu uses 9p (virtio-p9) to share files between guest and host. If you re
noticing a pattern here, you d be right; for some reason 9p is the go-to protocol
to exchange files between hypervisor and guest. Why? I have no idea, except maybe
due to being designed well, simple to implement, and it s a lot easier to validate the data being shared
and validate security boundaries. Simplicity has its value.
As a result, there s a lot of lingering 9p support kicking around. Turns out
Linux can even handle mounting 9p filesystems out of the box. This means that I
can deploy a filesystem to my LAN or my localhost by running a process on top
of a computer that needs nothing special, and mount it over the network on an
unmodified machine unlike fuse, where you d need client-specific software
to run in order to mount the directory. For instance, let s mount a 9p
filesystem running on my localhost machine, serving requests on 127.0.0.1:564
(tcp) that goes by the name mountpointname to /mnt.
$ mount -t 9p \
-o trans=tcp,port=564,version=9p2000.u,aname=mountpointname \
127.0.0.1 \
/mnt
Linux will mount away, and attach to the filesystem as the root user, and by default,
attach to that mountpoint again for each local user that attempts to use
it. Nifty, right? I think so. The server is able
to keep track of per-user access and authorization
along with the host OS.
WHEREIN I STYX WITH IT
Since I wanted to push myself a bit more with rust and tokio specifically,
I opted to implement the whole stack myself, without third party libraries on
the critical path where I could avoid it. The 9p protocol (sometimes called
Styx, the original name for it) is incredibly simple. It s a series of client
to server requests, which receive a server to client response. These are,
respectively, T messages, which transmit a request to the server, which
trigger an R message in response (Reply messages). These messages are
TLV payload
with a very straight forward structure so straight forward, in fact, that I
was able to implement a working server off nothing more than a handful of man
pages.
Later on after the basics worked, I found a more complete
spec page
that contains more information about the
unix specific variant
that I opted to use (9P2000.u rather than 9P2000) due to the level
of Linux specific support for the 9P2000.u variant over the 9P2000
protocol.
MR ROBOTO
The backend stack over at zoo is rust and tokio
running i/o for an HTTP and WebRTC server. I figured I d pick something
fairly similar to write my filesystem with, since 9P can be implemented
on basically anything with I/O. That means tokio tcp server bits, which
construct and use a 9p server, which has an idiomatic Rusty API that
partially abstracts the raw R and T messages, but not so much as to
cause issues with hiding implementation possibilities. At each abstraction
level, there s an escape hatch allowing someone to implement any of
the layers if required. I called this framework
arigato which can be found over on
docs.rs and
crates.io.
/// Simplified version of the arigato File trait; this isn't actually
/// the same trait; there's some small cosmetic differences. The
/// actual trait can be found at:
///
/// https://docs.rs/arigato/latest/arigato/server/trait.File.html
trait File
/// OpenFile is the type returned by this File via an Open call.
 type OpenFile: OpenFile;
/// Return the 9p Qid for this file. A file is the same if the Qid is
 /// the same. A Qid contains information about the mode of the file,
 /// version of the file, and a unique 64 bit identifier.
 fn qid(&self) -> Qid;
/// Construct the 9p Stat struct with metadata about a file.
 async fn stat(&self) -> FileResult<Stat>;
/// Attempt to update the file metadata.
 async fn wstat(&mut self, s: &Stat) -> FileResult<()>;
/// Traverse the filesystem tree.
 async fn walk(&self, path: &[&str]) -> FileResult<(Option<Self>, Vec<Self>)>;
/// Request that a file's reference be removed from the file tree.
 async fn unlink(&mut self) -> FileResult<()>;
/// Create a file at a specific location in the file tree.
 async fn create(
&mut self,
name: &str,
perm: u16,
ty: FileType,
mode: OpenMode,
extension: &str,
) -> FileResult<Self>;
/// Open the File, returning a handle to the open file, which handles
 /// file i/o. This is split into a second type since it is genuinely
 /// unrelated -- and the fact that a file is Open or Closed can be
 /// handled by the  arigato  server for us.
 async fn open(&mut self, mode: OpenMode) -> FileResult<Self::OpenFile>;

/// Simplified version of the arigato OpenFile trait; this isn't actually
/// the same trait; there's some small cosmetic differences. The
/// actual trait can be found at:
///
/// https://docs.rs/arigato/latest/arigato/server/trait.OpenFile.html
trait OpenFile
/// iounit to report for this file. The iounit reported is used for Read
 /// or Write operations to signal, if non-zero, the maximum size that is
 /// guaranteed to be transferred atomically.
 fn iounit(&self) -> u32;
/// Read some number of bytes up to  buf.len()  from the provided
 ///  offset  of the underlying file. The number of bytes read is
 /// returned.
 async fn read_at(
&mut self,
buf: &mut [u8],
offset: u64,
) -> FileResult<u32>;
/// Write some number of bytes up to  buf.len()  from the provided
 ///  offset  of the underlying file. The number of bytes written
 /// is returned.
 fn write_at(
&mut self,
buf: &mut [u8],
offset: u64,
) -> FileResult<u32>;
Thanks, decade ago paultag!
Let s do it! Let s use arigato to implement a 9p filesystem we ll call
debugfs that will serve all the debug
files shipped according to the Packages metadata from the apt archive. We ll
fetch the Packages file and construct a filesystem based on the reported
Build-Id entries. For those who don t know much about how an apt repo
works, here s the 2-second crash course on what we re doing. The first is to
fetch the Packages file, which is specific to a binary architecture (such as
amd64, arm64 or riscv64). That architecture is specific to a
component (such as main, contrib or non-free). That component is
specific to a suite, such as stable, unstable or any of its aliases
(bullseye, bookworm, etc). Let s take a look at the Packages.xz file for
the unstable-debug suite, main component, for all amd64 binaries.
$ curl \
https://deb.debian.org/debian-debug/dists/unstable-debug/main/binary-amd64/Packages.xz \
  unxz
This will return the Debian-style
rfc2822-like headers,
which is an export of the metadata contained inside each .deb file which
apt (or other tools that can use the apt repo format) use to fetch
information about debs. Let s take a look at the debug headers for the
netlabel-tools package in unstable which is a package named
netlabel-tools-dbgsym in unstable-debug.
Package: netlabel-tools-dbgsym
Source: netlabel-tools (0.30.0-1)
Version: 0.30.0-1+b1
Installed-Size: 79
Maintainer: Paul Tagliamonte <paultag@debian.org>
Architecture: amd64
Depends: netlabel-tools (= 0.30.0-1+b1)
Description: debug symbols for netlabel-tools
Auto-Built-Package: debug-symbols
Build-Ids: e59f81f6573dadd5d95a6e4474d9388ab2777e2a
Description-md5: a0e587a0cf730c88a4010f78562e6db7
Section: debug
Priority: optional
Filename: pool/main/n/netlabel-tools/netlabel-tools-dbgsym_0.30.0-1+b1_amd64.deb
Size: 62776
SHA256: 0e9bdb087617f0350995a84fb9aa84541bc4df45c6cd717f2157aa83711d0c60
So here, we can parse the package headers in the Packages.xz file, and store,
for each Build-Id, the Filename where we can fetch the .deb at. Each
.deb contains a number of files but we re only really interested in the
files inside the .deb located at or under /usr/lib/debug/.build-id/,
which you can find in debugfs under
rfc822.rs. It s
crude, and very single-purpose, but I m feeling a bit lazy.
Who needs dpkg?!
For folks who haven t seen it yet, a .deb file is a special type of
.ar file, that contains (usually)
three files inside debian-binary, control.tar.xz and data.tar.xz.
The core of an .ar file is a fixed size (60 byte) entry header,
followed by the specified size number of bytes.
[8 byte .ar file magic]
[60 byte entry header]
[N bytes of data]
[60 byte entry header]
[N bytes of data]
[60 byte entry header]
[N bytes of data]
...
First up was to implement a basic ar parser in
ar.rs. Before we get
into using it to parse a deb, as a quick diversion, let s break apart a .deb
file by hand something that is a bit of a rite of passage (or at least it
used to be? I m getting old) during the Debian nm (new member) process, to take
a look at where exactly the .debug file lives inside the .deb file.
$ ar x netlabel-tools-dbgsym_0.30.0-1+b1_amd64.deb
$ ls
control.tar.xz debian-binary
data.tar.xz netlabel-tools-dbgsym_0.30.0-1+b1_amd64.deb
$ tar --list -f data.tar.xz   grep '.debug$'
./usr/lib/debug/.build-id/e5/9f81f6573dadd5d95a6e4474d9388ab2777e2a.debug
Since we know quite a bit about the structure of a .deb file, and I had to
implement support from scratch anyway, I opted to implement a (very!) basic
debfile parser using HTTP Range requests. HTTP Range requests, if supported by
the server (denoted by a accept-ranges: bytes HTTP header in response to an
HTTP HEAD request to that file) means that we can add a header such as
range: bytes=8-68 to specifically request that the returned GET body be the
byte range provided (in the above case, the bytes starting from byte offset 8
until byte offset 68). This means we can fetch just the ar file entry from
the .deb file until we get to the file inside the .deb we are interested in
(in our case, the data.tar.xz file) at which point we can request the body
of that file with a final range request. I wound up writing a struct to
handle a read_at-style API surface in
hrange.rs, which
we can pair with ar.rs above and start to find our data in the .deb remotely
without downloading and unpacking the .deb at all.
After we have the body of the data.tar.xz coming back through the HTTP
response, we get to pipe it through an xz decompressor (this kinda sucked in
Rust, since a tokio AsyncRead is not the same as an http Body response is
not the same as std::io::Read, is not the same as an async (or sync)
Iterator is not the same as what the xz2 crate expects; leading me to read
blocks of data to a buffer and stuff them through the decoder by looping over
the buffer for each lzma2 packet in a loop), and tarfile parser (similarly
troublesome). From there we get to iterate over all entries in the tarfile,
stopping when we reach our file of interest. Since we can t seek, but gdb
needs to, we ll pull it out of the stream into a Cursor<Vec<u8>> in-memory
and pass a handle to it back to the user.
From here on out its a matter of
gluing together a File traited struct
in debugfs, and serving the filesystem over TCP using arigato. Done
deal!
A quick diversion about compression
I was originally hoping to avoid transferring the whole tar file over the
network (and therefore also reading the whole debug file into ram, which
objectively sucks), but quickly hit issues with figuring out a way around
seeking around an xz file. What s interesting is xz has a great primitive
to solve this specific problem (specifically, use a block size that allows you
to seek to the block as close to your desired seek position just before it,
only discarding at most block size - 1 bytes), but data.tar.xz files
generated by dpkg appear to have a single mega-huge block for the whole file.
I don t know why I would have expected any different, in retrospect. That means
that this now devolves into the base case of How do I seek around an lzma2
compressed data stream ; which is a lot more complex of a question.
Thankfully, notoriously brilliant tianon was
nice enough to introduce me to Jon Johnson
who did something super similar adapted a technique to seek inside a
compressed gzip file, which lets his service
oci.dag.dev
seek through Docker container images super fast based on some prior work
such as soci-snapshotter, gztool, and
zran.c.
He also pulled this party trick off for apk based distros
over at apk.dag.dev, which seems apropos.
Jon was nice enough to publish a lot of his work on this specifically in a
central place under the name targz
on his GitHub, which has been a ton of fun to read through.
The gist is that, by dumping the decompressor s state (window of previous
bytes, in-memory data derived from the last N-1 bytes) at specific
checkpoints along with the compressed data stream offset in bytes and
decompressed offset in bytes, one can seek to that checkpoint in the compressed
stream and pick up where you left off creating a similar block mechanism
against the wishes of gzip. It means you d need to do an O(n) run over the
file, but every request after that will be sped up according to the number
of checkpoints you ve taken.
Given the complexity of xz and lzma2, I don t think this is possible
for me at the moment especially given most of the files I ll be requesting
will not be loaded from again especially when I can just cache the debug
header by Build-Id. I want to implement this (because I m generally curious
and Jon has a way of getting someone excited about compression schemes, which
is not a sentence I thought I d ever say out loud), but for now I m going to
move on without this optimization. Such a shame, since it kills a lot of the
work that went into seeking around the .deb file in the first place, given
the debian-binary and control.tar.gz members are so small.
The Good
First, the good news right? It works! That s pretty cool. I m positive
my younger self would be amused and happy to see this working; as is
current day paultag. Let s take debugfs out for a spin! First, we need
to mount the filesystem. It even works on an entirely unmodified, stock
Debian box on my LAN, which is huge. Let s take it for a spin:
$ mount \
-t 9p \
-o trans=tcp,version=9p2000.u,aname=unstable-debug \
192.168.0.2 \
/usr/lib/debug/.build-id/
And, let s prove to ourselves that this actually mounted before we go
trying to use it:
$ mount   grep build-id
192.168.0.2 on /usr/lib/debug/.build-id type 9p (rw,relatime,aname=unstable-debug,access=user,trans=tcp,version=9p2000.u,port=564)
Slick. We ve got an open connection to the server, where our host
will keep a connection alive as root, attached to the filesystem provided
in aname. Let s take a look at it.
$ ls /usr/lib/debug/.build-id/
00 0d 1a 27 34 41 4e 5b 68 75 82 8E 9b a8 b5 c2 CE db e7 f3
01 0e 1b 28 35 42 4f 5c 69 76 83 8f 9c a9 b6 c3 cf dc E7 f4
02 0f 1c 29 36 43 50 5d 6a 77 84 90 9d aa b7 c4 d0 dd e8 f5
03 10 1d 2a 37 44 51 5e 6b 78 85 91 9e ab b8 c5 d1 de e9 f6
04 11 1e 2b 38 45 52 5f 6c 79 86 92 9f ac b9 c6 d2 df ea f7
05 12 1f 2c 39 46 53 60 6d 7a 87 93 a0 ad ba c7 d3 e0 eb f8
06 13 20 2d 3a 47 54 61 6e 7b 88 94 a1 ae bb c8 d4 e1 ec f9
07 14 21 2e 3b 48 55 62 6f 7c 89 95 a2 af bc c9 d5 e2 ed fa
08 15 22 2f 3c 49 56 63 70 7d 8a 96 a3 b0 bd ca d6 e3 ee fb
09 16 23 30 3d 4a 57 64 71 7e 8b 97 a4 b1 be cb d7 e4 ef fc
0a 17 24 31 3e 4b 58 65 72 7f 8c 98 a5 b2 bf cc d8 E4 f0 fd
0b 18 25 32 3f 4c 59 66 73 80 8d 99 a6 b3 c0 cd d9 e5 f1 fe
0c 19 26 33 40 4d 5a 67 74 81 8e 9a a7 b4 c1 ce da e6 f2 ff
Outstanding. Let s try using gdb to debug a binary that was provided by
the Debian archive, and see if it ll load the ELF by build-id from the
right .deb in the unstable-debug suite:
$ gdb -q /usr/sbin/netlabelctl
Reading symbols from /usr/sbin/netlabelctl...
Reading symbols from /usr/lib/debug/.build-id/e5/9f81f6573dadd5d95a6e4474d9388ab2777e2a.debug...
(gdb)
Yes! Yes it will!
$ file /usr/lib/debug/.build-id/e5/9f81f6573dadd5d95a6e4474d9388ab2777e2a.debug
/usr/lib/debug/.build-id/e5/9f81f6573dadd5d95a6e4474d9388ab2777e2a.debug: ELF 64-bit LSB shared object, x86-64, version 1 (SYSV), dynamically linked, interpreter *empty*, BuildID[sha1]=e59f81f6573dadd5d95a6e4474d9388ab2777e2a, for GNU/Linux 3.2.0, with debug_info, not stripped
The Bad
Linux s support for 9p is mainline, which is great, but it s not robust.
Network issues or server restarts will wedge the mountpoint (Linux can t
reconnect when the tcp connection breaks), and things that work fine on local
filesystems get translated in a way that causes a lot of network chatter for
instance, just due to the way the syscalls are translated, doing an ls, will
result in a stat call for each file in the directory, even though linux had
just got a stat entry for every file while it was resolving directory names.
On top of that, Linux will serialize all I/O with the server, so there s no
concurrent requests for file information, writes, or reads pending at the same
time to the server; and read and write throughput will degrade as latency
increases due to increasing round-trip time, even though there are offsets
included in the read and write calls. It works well enough, but is
frustrating to run up against, since there s not a lot you can do server-side
to help with this beyond implementing the 9P2000.L variant (which, maybe is
worth it).
The Ugly
Unfortunately, we don t know the file size(s) until we ve actually opened the
underlying tar file and found the correct member, so for most files, we don t
know the real size to report when getting a stat. We can t parse the tarfiles
for every stat call, since that d make ls even slower (bummer). Only
hiccup is that when I report a filesize of zero, gdb throws a bit of a
fit; let s try with a size of 0 to start:
$ ls -lah /usr/lib/debug/.build-id/e5/9f81f6573dadd5d95a6e4474d9388ab2777e2a.debug
-r--r--r-- 1 root root 0 Dec 31 1969 /usr/lib/debug/.build-id/e5/9f81f6573dadd5d95a6e4474d9388ab2777e2a.debug
$ gdb -q /usr/sbin/netlabelctl
Reading symbols from /usr/sbin/netlabelctl...
Reading symbols from /usr/lib/debug/.build-id/e5/9f81f6573dadd5d95a6e4474d9388ab2777e2a.debug...
warning: Discarding section .note.gnu.build-id which has a section size (24) larger than the file size [in module /usr/lib/debug/.build-id/e5/9f81f6573dadd5d95a6e4474d9388ab2777e2a.debug]
[...]
This obviously won t work since gdb will throw away all our hard work because
of stat s output, and neither will loading the real size of the underlying
file. That only leaves us with hardcoding a file size and hope nothing else
breaks significantly as a result. Let s try it again:
$ ls -lah /usr/lib/debug/.build-id/e5/9f81f6573dadd5d95a6e4474d9388ab2777e2a.debug
-r--r--r-- 1 root root 954M Dec 31 1969 /usr/lib/debug/.build-id/e5/9f81f6573dadd5d95a6e4474d9388ab2777e2a.debug
$ gdb -q /usr/sbin/netlabelctl
Reading symbols from /usr/sbin/netlabelctl...
Reading symbols from /usr/lib/debug/.build-id/e5/9f81f6573dadd5d95a6e4474d9388ab2777e2a.debug...
(gdb)
Much better. I mean, terrible but better. Better for now, anyway.
Kilroy was here
Do I think this is a particularly good idea? I mean; kinda. I m probably going
to make some fun 9p arigato-based filesystems for use around my LAN, but I
don t think I ll be moving to use debugfs until I can figure out how to
ensure the connection is more resilient to changing networks, server restarts
and fixes on i/o performance. I think it was a useful exercise and is a pretty
great hack, but I don t think this ll be shipping anywhere anytime soon.
Along with me publishing this post, I ve pushed up all my repos; so you
should be able to play along at home! There s a lot more work to be done
on arigato; but it does handshake and successfully export a working
9P2000.u filesystem. Check it out on on my github at
arigato,
debugfs
and also on crates.io
and docs.rs.
At least I can say I was here and I got it working after all these years.
rust and tokio specifically,
I opted to implement the whole stack myself, without third party libraries on
the critical path where I could avoid it. The 9p protocol (sometimes called
Styx, the original name for it) is incredibly simple. It s a series of client
to server requests, which receive a server to client response. These are,
respectively, T messages, which transmit a request to the server, which
trigger an R message in response (Reply messages). These messages are
TLV payload
with a very straight forward structure so straight forward, in fact, that I
was able to implement a working server off nothing more than a handful of man
pages.
Later on after the basics worked, I found a more complete
spec page
that contains more information about the
unix specific variant
that I opted to use (9P2000.u rather than 9P2000) due to the level
of Linux specific support for the 9P2000.u variant over the 9P2000
protocol.
MR ROBOTO
The backend stack over at zoo is rust and tokio
running i/o for an HTTP and WebRTC server. I figured I d pick something
fairly similar to write my filesystem with, since 9P can be implemented
on basically anything with I/O. That means tokio tcp server bits, which
construct and use a 9p server, which has an idiomatic Rusty API that
partially abstracts the raw R and T messages, but not so much as to
cause issues with hiding implementation possibilities. At each abstraction
level, there s an escape hatch allowing someone to implement any of
the layers if required. I called this framework
arigato which can be found over on
docs.rs and
crates.io.
/// Simplified version of the arigato File trait; this isn't actually
/// the same trait; there's some small cosmetic differences. The
/// actual trait can be found at:
///
/// https://docs.rs/arigato/latest/arigato/server/trait.File.html
trait File
/// OpenFile is the type returned by this File via an Open call.
type OpenFile: OpenFile;
/// Return the 9p Qid for this file. A file is the same if the Qid is
/// the same. A Qid contains information about the mode of the file,
/// version of the file, and a unique 64 bit identifier.
fn qid(&self) -> Qid;
/// Construct the 9p Stat struct with metadata about a file.
async fn stat(&self) -> FileResult<Stat>;
/// Attempt to update the file metadata.
async fn wstat(&mut self, s: &Stat) -> FileResult<()>;
/// Traverse the filesystem tree.
async fn walk(&self, path: &[&str]) -> FileResult<(Option<Self>, Vec<Self>)>;
/// Request that a file's reference be removed from the file tree.
async fn unlink(&mut self) -> FileResult<()>;
/// Create a file at a specific location in the file tree.
async fn create(
&mut self,
name: &str,
perm: u16,
ty: FileType,
mode: OpenMode,
extension: &str,
) -> FileResult<Self>;
/// Open the File, returning a handle to the open file, which handles
/// file i/o. This is split into a second type since it is genuinely
/// unrelated -- and the fact that a file is Open or Closed can be
/// handled by the arigato server for us.
async fn open(&mut self, mode: OpenMode) -> FileResult<Self::OpenFile>;
/// Simplified version of the arigato OpenFile trait; this isn't actually
/// the same trait; there's some small cosmetic differences. The
/// actual trait can be found at:
///
/// https://docs.rs/arigato/latest/arigato/server/trait.OpenFile.html
trait OpenFile
/// iounit to report for this file. The iounit reported is used for Read
/// or Write operations to signal, if non-zero, the maximum size that is
/// guaranteed to be transferred atomically.
fn iounit(&self) -> u32;
/// Read some number of bytes up to buf.len() from the provided
/// offset of the underlying file. The number of bytes read is
/// returned.
async fn read_at(
&mut self,
buf: &mut [u8],
offset: u64,
) -> FileResult<u32>;
/// Write some number of bytes up to buf.len() from the provided
/// offset of the underlying file. The number of bytes written
/// is returned.
fn write_at(
&mut self,
buf: &mut [u8],
offset: u64,
) -> FileResult<u32>;
Thanks, decade ago paultag!
Let s do it! Let s use arigato to implement a 9p filesystem we ll call
debugfs that will serve all the debug
files shipped according to the Packages metadata from the apt archive. We ll
fetch the Packages file and construct a filesystem based on the reported
Build-Id entries. For those who don t know much about how an apt repo
works, here s the 2-second crash course on what we re doing. The first is to
fetch the Packages file, which is specific to a binary architecture (such as
amd64, arm64 or riscv64). That architecture is specific to a
component (such as main, contrib or non-free). That component is
specific to a suite, such as stable, unstable or any of its aliases
(bullseye, bookworm, etc). Let s take a look at the Packages.xz file for
the unstable-debug suite, main component, for all amd64 binaries.
$ curl \
https://deb.debian.org/debian-debug/dists/unstable-debug/main/binary-amd64/Packages.xz \
unxz
This will return the Debian-style
rfc2822-like headers,
which is an export of the metadata contained inside each .deb file which
apt (or other tools that can use the apt repo format) use to fetch
information about debs. Let s take a look at the debug headers for the
netlabel-tools package in unstable which is a package named
netlabel-tools-dbgsym in unstable-debug.
Package: netlabel-tools-dbgsym
Source: netlabel-tools (0.30.0-1)
Version: 0.30.0-1+b1
Installed-Size: 79
Maintainer: Paul Tagliamonte <paultag@debian.org>
Architecture: amd64
Depends: netlabel-tools (= 0.30.0-1+b1)
Description: debug symbols for netlabel-tools
Auto-Built-Package: debug-symbols
Build-Ids: e59f81f6573dadd5d95a6e4474d9388ab2777e2a
Description-md5: a0e587a0cf730c88a4010f78562e6db7
Section: debug
Priority: optional
Filename: pool/main/n/netlabel-tools/netlabel-tools-dbgsym_0.30.0-1+b1_amd64.deb
Size: 62776
SHA256: 0e9bdb087617f0350995a84fb9aa84541bc4df45c6cd717f2157aa83711d0c60
So here, we can parse the package headers in the Packages.xz file, and store,
for each Build-Id, the Filename where we can fetch the .deb at. Each
.deb contains a number of files but we re only really interested in the
files inside the .deb located at or under /usr/lib/debug/.build-id/,
which you can find in debugfs under
rfc822.rs. It s
crude, and very single-purpose, but I m feeling a bit lazy.
Who needs dpkg?!
For folks who haven t seen it yet, a .deb file is a special type of
.ar file, that contains (usually)
three files inside debian-binary, control.tar.xz and data.tar.xz.
The core of an .ar file is a fixed size (60 byte) entry header,
followed by the specified size number of bytes.
[8 byte .ar file magic]
[60 byte entry header]
[N bytes of data]
[60 byte entry header]
[N bytes of data]
[60 byte entry header]
[N bytes of data]
...
First up was to implement a basic ar parser in
ar.rs. Before we get
into using it to parse a deb, as a quick diversion, let s break apart a .deb
file by hand something that is a bit of a rite of passage (or at least it
used to be? I m getting old) during the Debian nm (new member) process, to take
a look at where exactly the .debug file lives inside the .deb file.
$ ar x netlabel-tools-dbgsym_0.30.0-1+b1_amd64.deb
$ ls
control.tar.xz debian-binary
data.tar.xz netlabel-tools-dbgsym_0.30.0-1+b1_amd64.deb
$ tar --list -f data.tar.xz grep '.debug$'
./usr/lib/debug/.build-id/e5/9f81f6573dadd5d95a6e4474d9388ab2777e2a.debug
Since we know quite a bit about the structure of a .deb file, and I had to
implement support from scratch anyway, I opted to implement a (very!) basic
debfile parser using HTTP Range requests. HTTP Range requests, if supported by
the server (denoted by a accept-ranges: bytes HTTP header in response to an
HTTP HEAD request to that file) means that we can add a header such as
range: bytes=8-68 to specifically request that the returned GET body be the
byte range provided (in the above case, the bytes starting from byte offset 8
until byte offset 68). This means we can fetch just the ar file entry from
the .deb file until we get to the file inside the .deb we are interested in
(in our case, the data.tar.xz file) at which point we can request the body
of that file with a final range request. I wound up writing a struct to
handle a read_at-style API surface in
hrange.rs, which
we can pair with ar.rs above and start to find our data in the .deb remotely
without downloading and unpacking the .deb at all.
After we have the body of the data.tar.xz coming back through the HTTP
response, we get to pipe it through an xz decompressor (this kinda sucked in
Rust, since a tokio AsyncRead is not the same as an http Body response is
not the same as std::io::Read, is not the same as an async (or sync)
Iterator is not the same as what the xz2 crate expects; leading me to read
blocks of data to a buffer and stuff them through the decoder by looping over
the buffer for each lzma2 packet in a loop), and tarfile parser (similarly
troublesome). From there we get to iterate over all entries in the tarfile,
stopping when we reach our file of interest. Since we can t seek, but gdb
needs to, we ll pull it out of the stream into a Cursor<Vec<u8>> in-memory
and pass a handle to it back to the user.
From here on out its a matter of
gluing together a File traited struct
in debugfs, and serving the filesystem over TCP using arigato. Done
deal!
A quick diversion about compression
I was originally hoping to avoid transferring the whole tar file over the
network (and therefore also reading the whole debug file into ram, which
objectively sucks), but quickly hit issues with figuring out a way around
seeking around an xz file. What s interesting is xz has a great primitive
to solve this specific problem (specifically, use a block size that allows you
to seek to the block as close to your desired seek position just before it,
only discarding at most block size - 1 bytes), but data.tar.xz files
generated by dpkg appear to have a single mega-huge block for the whole file.
I don t know why I would have expected any different, in retrospect. That means
that this now devolves into the base case of How do I seek around an lzma2
compressed data stream ; which is a lot more complex of a question.
Thankfully, notoriously brilliant tianon was
nice enough to introduce me to Jon Johnson
who did something super similar adapted a technique to seek inside a
compressed gzip file, which lets his service
oci.dag.dev
seek through Docker container images super fast based on some prior work
such as soci-snapshotter, gztool, and
zran.c.
He also pulled this party trick off for apk based distros
over at apk.dag.dev, which seems apropos.
Jon was nice enough to publish a lot of his work on this specifically in a
central place under the name targz
on his GitHub, which has been a ton of fun to read through.
The gist is that, by dumping the decompressor s state (window of previous
bytes, in-memory data derived from the last N-1 bytes) at specific
checkpoints along with the compressed data stream offset in bytes and
decompressed offset in bytes, one can seek to that checkpoint in the compressed
stream and pick up where you left off creating a similar block mechanism
against the wishes of gzip. It means you d need to do an O(n) run over the
file, but every request after that will be sped up according to the number
of checkpoints you ve taken.
Given the complexity of xz and lzma2, I don t think this is possible
for me at the moment especially given most of the files I ll be requesting
will not be loaded from again especially when I can just cache the debug
header by Build-Id. I want to implement this (because I m generally curious
and Jon has a way of getting someone excited about compression schemes, which
is not a sentence I thought I d ever say out loud), but for now I m going to
move on without this optimization. Such a shame, since it kills a lot of the
work that went into seeking around the .deb file in the first place, given
the debian-binary and control.tar.gz members are so small.
The Good
First, the good news right? It works! That s pretty cool. I m positive
my younger self would be amused and happy to see this working; as is
current day paultag. Let s take debugfs out for a spin! First, we need
to mount the filesystem. It even works on an entirely unmodified, stock
Debian box on my LAN, which is huge. Let s take it for a spin:
$ mount \
-t 9p \
-o trans=tcp,version=9p2000.u,aname=unstable-debug \
192.168.0.2 \
/usr/lib/debug/.build-id/
And, let s prove to ourselves that this actually mounted before we go
trying to use it:
$ mount grep build-id
192.168.0.2 on /usr/lib/debug/.build-id type 9p (rw,relatime,aname=unstable-debug,access=user,trans=tcp,version=9p2000.u,port=564)
Slick. We ve got an open connection to the server, where our host
will keep a connection alive as root, attached to the filesystem provided
in aname. Let s take a look at it.
$ ls /usr/lib/debug/.build-id/
00 0d 1a 27 34 41 4e 5b 68 75 82 8E 9b a8 b5 c2 CE db e7 f3
01 0e 1b 28 35 42 4f 5c 69 76 83 8f 9c a9 b6 c3 cf dc E7 f4
02 0f 1c 29 36 43 50 5d 6a 77 84 90 9d aa b7 c4 d0 dd e8 f5
03 10 1d 2a 37 44 51 5e 6b 78 85 91 9e ab b8 c5 d1 de e9 f6
04 11 1e 2b 38 45 52 5f 6c 79 86 92 9f ac b9 c6 d2 df ea f7
05 12 1f 2c 39 46 53 60 6d 7a 87 93 a0 ad ba c7 d3 e0 eb f8
06 13 20 2d 3a 47 54 61 6e 7b 88 94 a1 ae bb c8 d4 e1 ec f9
07 14 21 2e 3b 48 55 62 6f 7c 89 95 a2 af bc c9 d5 e2 ed fa
08 15 22 2f 3c 49 56 63 70 7d 8a 96 a3 b0 bd ca d6 e3 ee fb
09 16 23 30 3d 4a 57 64 71 7e 8b 97 a4 b1 be cb d7 e4 ef fc
0a 17 24 31 3e 4b 58 65 72 7f 8c 98 a5 b2 bf cc d8 E4 f0 fd
0b 18 25 32 3f 4c 59 66 73 80 8d 99 a6 b3 c0 cd d9 e5 f1 fe
0c 19 26 33 40 4d 5a 67 74 81 8e 9a a7 b4 c1 ce da e6 f2 ff
Outstanding. Let s try using gdb to debug a binary that was provided by
the Debian archive, and see if it ll load the ELF by build-id from the
right .deb in the unstable-debug suite:
$ gdb -q /usr/sbin/netlabelctl
Reading symbols from /usr/sbin/netlabelctl...
Reading symbols from /usr/lib/debug/.build-id/e5/9f81f6573dadd5d95a6e4474d9388ab2777e2a.debug...
(gdb)
Yes! Yes it will!
$ file /usr/lib/debug/.build-id/e5/9f81f6573dadd5d95a6e4474d9388ab2777e2a.debug
/usr/lib/debug/.build-id/e5/9f81f6573dadd5d95a6e4474d9388ab2777e2a.debug: ELF 64-bit LSB shared object, x86-64, version 1 (SYSV), dynamically linked, interpreter *empty*, BuildID[sha1]=e59f81f6573dadd5d95a6e4474d9388ab2777e2a, for GNU/Linux 3.2.0, with debug_info, not stripped
The Bad
Linux s support for 9p is mainline, which is great, but it s not robust.
Network issues or server restarts will wedge the mountpoint (Linux can t
reconnect when the tcp connection breaks), and things that work fine on local
filesystems get translated in a way that causes a lot of network chatter for
instance, just due to the way the syscalls are translated, doing an ls, will
result in a stat call for each file in the directory, even though linux had
just got a stat entry for every file while it was resolving directory names.
On top of that, Linux will serialize all I/O with the server, so there s no
concurrent requests for file information, writes, or reads pending at the same
time to the server; and read and write throughput will degrade as latency
increases due to increasing round-trip time, even though there are offsets
included in the read and write calls. It works well enough, but is
frustrating to run up against, since there s not a lot you can do server-side
to help with this beyond implementing the 9P2000.L variant (which, maybe is
worth it).
The Ugly
Unfortunately, we don t know the file size(s) until we ve actually opened the
underlying tar file and found the correct member, so for most files, we don t
know the real size to report when getting a stat. We can t parse the tarfiles
for every stat call, since that d make ls even slower (bummer). Only
hiccup is that when I report a filesize of zero, gdb throws a bit of a
fit; let s try with a size of 0 to start:
$ ls -lah /usr/lib/debug/.build-id/e5/9f81f6573dadd5d95a6e4474d9388ab2777e2a.debug
-r--r--r-- 1 root root 0 Dec 31 1969 /usr/lib/debug/.build-id/e5/9f81f6573dadd5d95a6e4474d9388ab2777e2a.debug
$ gdb -q /usr/sbin/netlabelctl
Reading symbols from /usr/sbin/netlabelctl...
Reading symbols from /usr/lib/debug/.build-id/e5/9f81f6573dadd5d95a6e4474d9388ab2777e2a.debug...
warning: Discarding section .note.gnu.build-id which has a section size (24) larger than the file size [in module /usr/lib/debug/.build-id/e5/9f81f6573dadd5d95a6e4474d9388ab2777e2a.debug]
[...]
This obviously won t work since gdb will throw away all our hard work because
of stat s output, and neither will loading the real size of the underlying
file. That only leaves us with hardcoding a file size and hope nothing else
breaks significantly as a result. Let s try it again:
$ ls -lah /usr/lib/debug/.build-id/e5/9f81f6573dadd5d95a6e4474d9388ab2777e2a.debug
-r--r--r-- 1 root root 954M Dec 31 1969 /usr/lib/debug/.build-id/e5/9f81f6573dadd5d95a6e4474d9388ab2777e2a.debug
$ gdb -q /usr/sbin/netlabelctl
Reading symbols from /usr/sbin/netlabelctl...
Reading symbols from /usr/lib/debug/.build-id/e5/9f81f6573dadd5d95a6e4474d9388ab2777e2a.debug...
(gdb)
Much better. I mean, terrible but better. Better for now, anyway.
Kilroy was here
Do I think this is a particularly good idea? I mean; kinda. I m probably going
to make some fun 9p arigato-based filesystems for use around my LAN, but I
don t think I ll be moving to use debugfs until I can figure out how to
ensure the connection is more resilient to changing networks, server restarts
and fixes on i/o performance. I think it was a useful exercise and is a pretty
great hack, but I don t think this ll be shipping anywhere anytime soon.
Along with me publishing this post, I ve pushed up all my repos; so you
should be able to play along at home! There s a lot more work to be done
on arigato; but it does handshake and successfully export a working
9P2000.u filesystem. Check it out on on my github at
arigato,
debugfs
and also on crates.io
and docs.rs.
At least I can say I was here and I got it working after all these years.
/// Simplified version of the arigato File trait; this isn't actually
/// the same trait; there's some small cosmetic differences. The
/// actual trait can be found at:
///
/// https://docs.rs/arigato/latest/arigato/server/trait.File.html
trait File
/// OpenFile is the type returned by this File via an Open call.
type OpenFile: OpenFile;
/// Return the 9p Qid for this file. A file is the same if the Qid is
/// the same. A Qid contains information about the mode of the file,
/// version of the file, and a unique 64 bit identifier.
fn qid(&self) -> Qid;
/// Construct the 9p Stat struct with metadata about a file.
async fn stat(&self) -> FileResult<Stat>;
/// Attempt to update the file metadata.
async fn wstat(&mut self, s: &Stat) -> FileResult<()>;
/// Traverse the filesystem tree.
async fn walk(&self, path: &[&str]) -> FileResult<(Option<Self>, Vec<Self>)>;
/// Request that a file's reference be removed from the file tree.
async fn unlink(&mut self) -> FileResult<()>;
/// Create a file at a specific location in the file tree.
async fn create(
&mut self,
name: &str,
perm: u16,
ty: FileType,
mode: OpenMode,
extension: &str,
) -> FileResult<Self>;
/// Open the File, returning a handle to the open file, which handles
/// file i/o. This is split into a second type since it is genuinely
/// unrelated -- and the fact that a file is Open or Closed can be
/// handled by the arigato server for us.
async fn open(&mut self, mode: OpenMode) -> FileResult<Self::OpenFile>;
/// Simplified version of the arigato OpenFile trait; this isn't actually
/// the same trait; there's some small cosmetic differences. The
/// actual trait can be found at:
///
/// https://docs.rs/arigato/latest/arigato/server/trait.OpenFile.html
trait OpenFile
/// iounit to report for this file. The iounit reported is used for Read
/// or Write operations to signal, if non-zero, the maximum size that is
/// guaranteed to be transferred atomically.
fn iounit(&self) -> u32;
/// Read some number of bytes up to buf.len() from the provided
/// offset of the underlying file. The number of bytes read is
/// returned.
async fn read_at(
&mut self,
buf: &mut [u8],
offset: u64,
) -> FileResult<u32>;
/// Write some number of bytes up to buf.len() from the provided
/// offset of the underlying file. The number of bytes written
/// is returned.
fn write_at(
&mut self,
buf: &mut [u8],
offset: u64,
) -> FileResult<u32>;
arigato to implement a 9p filesystem we ll call
debugfs that will serve all the debug
files shipped according to the Packages metadata from the apt archive. We ll
fetch the Packages file and construct a filesystem based on the reported
Build-Id entries. For those who don t know much about how an apt repo
works, here s the 2-second crash course on what we re doing. The first is to
fetch the Packages file, which is specific to a binary architecture (such as
amd64, arm64 or riscv64). That architecture is specific to a
component (such as main, contrib or non-free). That component is
specific to a suite, such as stable, unstable or any of its aliases
(bullseye, bookworm, etc). Let s take a look at the Packages.xz file for
the unstable-debug suite, main component, for all amd64 binaries.
$ curl \
https://deb.debian.org/debian-debug/dists/unstable-debug/main/binary-amd64/Packages.xz \
unxz
.deb file which
apt (or other tools that can use the apt repo format) use to fetch
information about debs. Let s take a look at the debug headers for the
netlabel-tools package in unstable which is a package named
netlabel-tools-dbgsym in unstable-debug.
Package: netlabel-tools-dbgsym
Source: netlabel-tools (0.30.0-1)
Version: 0.30.0-1+b1
Installed-Size: 79
Maintainer: Paul Tagliamonte <paultag@debian.org>
Architecture: amd64
Depends: netlabel-tools (= 0.30.0-1+b1)
Description: debug symbols for netlabel-tools
Auto-Built-Package: debug-symbols
Build-Ids: e59f81f6573dadd5d95a6e4474d9388ab2777e2a
Description-md5: a0e587a0cf730c88a4010f78562e6db7
Section: debug
Priority: optional
Filename: pool/main/n/netlabel-tools/netlabel-tools-dbgsym_0.30.0-1+b1_amd64.deb
Size: 62776
SHA256: 0e9bdb087617f0350995a84fb9aa84541bc4df45c6cd717f2157aa83711d0c60
Packages.xz file, and store,
for each Build-Id, the Filename where we can fetch the .deb at. Each
.deb contains a number of files but we re only really interested in the
files inside the .deb located at or under /usr/lib/debug/.build-id/,
which you can find in debugfs under
rfc822.rs. It s
crude, and very single-purpose, but I m feeling a bit lazy.
Who needs dpkg?!
For folks who haven t seen it yet, a .deb file is a special type of
.ar file, that contains (usually)
three files inside debian-binary, control.tar.xz and data.tar.xz.
The core of an .ar file is a fixed size (60 byte) entry header,
followed by the specified size number of bytes.
[8 byte .ar file magic]
[60 byte entry header]
[N bytes of data]
[60 byte entry header]
[N bytes of data]
[60 byte entry header]
[N bytes of data]
...
First up was to implement a basic ar parser in
ar.rs. Before we get
into using it to parse a deb, as a quick diversion, let s break apart a .deb
file by hand something that is a bit of a rite of passage (or at least it
used to be? I m getting old) during the Debian nm (new member) process, to take
a look at where exactly the .debug file lives inside the .deb file.
$ ar x netlabel-tools-dbgsym_0.30.0-1+b1_amd64.deb
$ ls
control.tar.xz debian-binary
data.tar.xz netlabel-tools-dbgsym_0.30.0-1+b1_amd64.deb
$ tar --list -f data.tar.xz grep '.debug$'
./usr/lib/debug/.build-id/e5/9f81f6573dadd5d95a6e4474d9388ab2777e2a.debug
Since we know quite a bit about the structure of a .deb file, and I had to
implement support from scratch anyway, I opted to implement a (very!) basic
debfile parser using HTTP Range requests. HTTP Range requests, if supported by
the server (denoted by a accept-ranges: bytes HTTP header in response to an
HTTP HEAD request to that file) means that we can add a header such as
range: bytes=8-68 to specifically request that the returned GET body be the
byte range provided (in the above case, the bytes starting from byte offset 8
until byte offset 68). This means we can fetch just the ar file entry from
the .deb file until we get to the file inside the .deb we are interested in
(in our case, the data.tar.xz file) at which point we can request the body
of that file with a final range request. I wound up writing a struct to
handle a read_at-style API surface in
hrange.rs, which
we can pair with ar.rs above and start to find our data in the .deb remotely
without downloading and unpacking the .deb at all.
After we have the body of the data.tar.xz coming back through the HTTP
response, we get to pipe it through an xz decompressor (this kinda sucked in
Rust, since a tokio AsyncRead is not the same as an http Body response is
not the same as std::io::Read, is not the same as an async (or sync)
Iterator is not the same as what the xz2 crate expects; leading me to read
blocks of data to a buffer and stuff them through the decoder by looping over
the buffer for each lzma2 packet in a loop), and tarfile parser (similarly
troublesome). From there we get to iterate over all entries in the tarfile,
stopping when we reach our file of interest. Since we can t seek, but gdb
needs to, we ll pull it out of the stream into a Cursor<Vec<u8>> in-memory
and pass a handle to it back to the user.
From here on out its a matter of
gluing together a File traited struct
in debugfs, and serving the filesystem over TCP using arigato. Done
deal!
A quick diversion about compression
I was originally hoping to avoid transferring the whole tar file over the
network (and therefore also reading the whole debug file into ram, which
objectively sucks), but quickly hit issues with figuring out a way around
seeking around an xz file. What s interesting is xz has a great primitive
to solve this specific problem (specifically, use a block size that allows you
to seek to the block as close to your desired seek position just before it,
only discarding at most block size - 1 bytes), but data.tar.xz files
generated by dpkg appear to have a single mega-huge block for the whole file.
I don t know why I would have expected any different, in retrospect. That means
that this now devolves into the base case of How do I seek around an lzma2
compressed data stream ; which is a lot more complex of a question.
Thankfully, notoriously brilliant tianon was
nice enough to introduce me to Jon Johnson
who did something super similar adapted a technique to seek inside a
compressed gzip file, which lets his service
oci.dag.dev
seek through Docker container images super fast based on some prior work
such as soci-snapshotter, gztool, and
zran.c.
He also pulled this party trick off for apk based distros
over at apk.dag.dev, which seems apropos.
Jon was nice enough to publish a lot of his work on this specifically in a
central place under the name targz
on his GitHub, which has been a ton of fun to read through.
The gist is that, by dumping the decompressor s state (window of previous
bytes, in-memory data derived from the last N-1 bytes) at specific
checkpoints along with the compressed data stream offset in bytes and
decompressed offset in bytes, one can seek to that checkpoint in the compressed
stream and pick up where you left off creating a similar block mechanism
against the wishes of gzip. It means you d need to do an O(n) run over the
file, but every request after that will be sped up according to the number
of checkpoints you ve taken.
Given the complexity of xz and lzma2, I don t think this is possible
for me at the moment especially given most of the files I ll be requesting
will not be loaded from again especially when I can just cache the debug
header by Build-Id. I want to implement this (because I m generally curious
and Jon has a way of getting someone excited about compression schemes, which
is not a sentence I thought I d ever say out loud), but for now I m going to
move on without this optimization. Such a shame, since it kills a lot of the
work that went into seeking around the .deb file in the first place, given
the debian-binary and control.tar.gz members are so small.
The Good
First, the good news right? It works! That s pretty cool. I m positive
my younger self would be amused and happy to see this working; as is
current day paultag. Let s take debugfs out for a spin! First, we need
to mount the filesystem. It even works on an entirely unmodified, stock
Debian box on my LAN, which is huge. Let s take it for a spin:
$ mount \
-t 9p \
-o trans=tcp,version=9p2000.u,aname=unstable-debug \
192.168.0.2 \
/usr/lib/debug/.build-id/
And, let s prove to ourselves that this actually mounted before we go
trying to use it:
$ mount grep build-id
192.168.0.2 on /usr/lib/debug/.build-id type 9p (rw,relatime,aname=unstable-debug,access=user,trans=tcp,version=9p2000.u,port=564)
Slick. We ve got an open connection to the server, where our host
will keep a connection alive as root, attached to the filesystem provided
in aname. Let s take a look at it.
$ ls /usr/lib/debug/.build-id/
00 0d 1a 27 34 41 4e 5b 68 75 82 8E 9b a8 b5 c2 CE db e7 f3
01 0e 1b 28 35 42 4f 5c 69 76 83 8f 9c a9 b6 c3 cf dc E7 f4
02 0f 1c 29 36 43 50 5d 6a 77 84 90 9d aa b7 c4 d0 dd e8 f5
03 10 1d 2a 37 44 51 5e 6b 78 85 91 9e ab b8 c5 d1 de e9 f6
04 11 1e 2b 38 45 52 5f 6c 79 86 92 9f ac b9 c6 d2 df ea f7
05 12 1f 2c 39 46 53 60 6d 7a 87 93 a0 ad ba c7 d3 e0 eb f8
06 13 20 2d 3a 47 54 61 6e 7b 88 94 a1 ae bb c8 d4 e1 ec f9
07 14 21 2e 3b 48 55 62 6f 7c 89 95 a2 af bc c9 d5 e2 ed fa
08 15 22 2f 3c 49 56 63 70 7d 8a 96 a3 b0 bd ca d6 e3 ee fb
09 16 23 30 3d 4a 57 64 71 7e 8b 97 a4 b1 be cb d7 e4 ef fc
0a 17 24 31 3e 4b 58 65 72 7f 8c 98 a5 b2 bf cc d8 E4 f0 fd
0b 18 25 32 3f 4c 59 66 73 80 8d 99 a6 b3 c0 cd d9 e5 f1 fe
0c 19 26 33 40 4d 5a 67 74 81 8e 9a a7 b4 c1 ce da e6 f2 ff
Outstanding. Let s try using gdb to debug a binary that was provided by
the Debian archive, and see if it ll load the ELF by build-id from the
right .deb in the unstable-debug suite:
$ gdb -q /usr/sbin/netlabelctl
Reading symbols from /usr/sbin/netlabelctl...
Reading symbols from /usr/lib/debug/.build-id/e5/9f81f6573dadd5d95a6e4474d9388ab2777e2a.debug...
(gdb)
Yes! Yes it will!
$ file /usr/lib/debug/.build-id/e5/9f81f6573dadd5d95a6e4474d9388ab2777e2a.debug
/usr/lib/debug/.build-id/e5/9f81f6573dadd5d95a6e4474d9388ab2777e2a.debug: ELF 64-bit LSB shared object, x86-64, version 1 (SYSV), dynamically linked, interpreter *empty*, BuildID[sha1]=e59f81f6573dadd5d95a6e4474d9388ab2777e2a, for GNU/Linux 3.2.0, with debug_info, not stripped
The Bad
Linux s support for 9p is mainline, which is great, but it s not robust.
Network issues or server restarts will wedge the mountpoint (Linux can t
reconnect when the tcp connection breaks), and things that work fine on local
filesystems get translated in a way that causes a lot of network chatter for
instance, just due to the way the syscalls are translated, doing an ls, will
result in a stat call for each file in the directory, even though linux had
just got a stat entry for every file while it was resolving directory names.
On top of that, Linux will serialize all I/O with the server, so there s no
concurrent requests for file information, writes, or reads pending at the same
time to the server; and read and write throughput will degrade as latency
increases due to increasing round-trip time, even though there are offsets
included in the read and write calls. It works well enough, but is
frustrating to run up against, since there s not a lot you can do server-side
to help with this beyond implementing the 9P2000.L variant (which, maybe is
worth it).
The Ugly
Unfortunately, we don t know the file size(s) until we ve actually opened the
underlying tar file and found the correct member, so for most files, we don t
know the real size to report when getting a stat. We can t parse the tarfiles
for every stat call, since that d make ls even slower (bummer). Only
hiccup is that when I report a filesize of zero, gdb throws a bit of a
fit; let s try with a size of 0 to start:
$ ls -lah /usr/lib/debug/.build-id/e5/9f81f6573dadd5d95a6e4474d9388ab2777e2a.debug
-r--r--r-- 1 root root 0 Dec 31 1969 /usr/lib/debug/.build-id/e5/9f81f6573dadd5d95a6e4474d9388ab2777e2a.debug
$ gdb -q /usr/sbin/netlabelctl
Reading symbols from /usr/sbin/netlabelctl...
Reading symbols from /usr/lib/debug/.build-id/e5/9f81f6573dadd5d95a6e4474d9388ab2777e2a.debug...
warning: Discarding section .note.gnu.build-id which has a section size (24) larger than the file size [in module /usr/lib/debug/.build-id/e5/9f81f6573dadd5d95a6e4474d9388ab2777e2a.debug]
[...]
This obviously won t work since gdb will throw away all our hard work because
of stat s output, and neither will loading the real size of the underlying
file. That only leaves us with hardcoding a file size and hope nothing else
breaks significantly as a result. Let s try it again:
$ ls -lah /usr/lib/debug/.build-id/e5/9f81f6573dadd5d95a6e4474d9388ab2777e2a.debug
-r--r--r-- 1 root root 954M Dec 31 1969 /usr/lib/debug/.build-id/e5/9f81f6573dadd5d95a6e4474d9388ab2777e2a.debug
$ gdb -q /usr/sbin/netlabelctl
Reading symbols from /usr/sbin/netlabelctl...
Reading symbols from /usr/lib/debug/.build-id/e5/9f81f6573dadd5d95a6e4474d9388ab2777e2a.debug...
(gdb)
Much better. I mean, terrible but better. Better for now, anyway.
Kilroy was here
Do I think this is a particularly good idea? I mean; kinda. I m probably going
to make some fun 9p arigato-based filesystems for use around my LAN, but I
don t think I ll be moving to use debugfs until I can figure out how to
ensure the connection is more resilient to changing networks, server restarts
and fixes on i/o performance. I think it was a useful exercise and is a pretty
great hack, but I don t think this ll be shipping anywhere anytime soon.
Along with me publishing this post, I ve pushed up all my repos; so you
should be able to play along at home! There s a lot more work to be done
on arigato; but it does handshake and successfully export a working
9P2000.u filesystem. Check it out on on my github at
arigato,
debugfs
and also on crates.io
and docs.rs.
At least I can say I was here and I got it working after all these years.
[8 byte .ar file magic]
[60 byte entry header]
[N bytes of data]
[60 byte entry header]
[N bytes of data]
[60 byte entry header]
[N bytes of data]
...
$ ar x netlabel-tools-dbgsym_0.30.0-1+b1_amd64.deb
$ ls
control.tar.xz debian-binary
data.tar.xz netlabel-tools-dbgsym_0.30.0-1+b1_amd64.deb
$ tar --list -f data.tar.xz grep '.debug$'
./usr/lib/debug/.build-id/e5/9f81f6573dadd5d95a6e4474d9388ab2777e2a.debug
xz file. What s interesting is xz has a great primitive
to solve this specific problem (specifically, use a block size that allows you
to seek to the block as close to your desired seek position just before it,
only discarding at most block size - 1 bytes), but data.tar.xz files
generated by dpkg appear to have a single mega-huge block for the whole file.
I don t know why I would have expected any different, in retrospect. That means
that this now devolves into the base case of How do I seek around an lzma2
compressed data stream ; which is a lot more complex of a question.
Thankfully, notoriously brilliant tianon was
nice enough to introduce me to Jon Johnson
who did something super similar adapted a technique to seek inside a
compressed gzip file, which lets his service
oci.dag.dev
seek through Docker container images super fast based on some prior work
such as soci-snapshotter, gztool, and
zran.c.
He also pulled this party trick off for apk based distros
over at apk.dag.dev, which seems apropos.
Jon was nice enough to publish a lot of his work on this specifically in a
central place under the name targz
on his GitHub, which has been a ton of fun to read through.
The gist is that, by dumping the decompressor s state (window of previous
bytes, in-memory data derived from the last N-1 bytes) at specific
checkpoints along with the compressed data stream offset in bytes and
decompressed offset in bytes, one can seek to that checkpoint in the compressed
stream and pick up where you left off creating a similar block mechanism
against the wishes of gzip. It means you d need to do an O(n) run over the
file, but every request after that will be sped up according to the number
of checkpoints you ve taken.
Given the complexity of xz and lzma2, I don t think this is possible
for me at the moment especially given most of the files I ll be requesting
will not be loaded from again especially when I can just cache the debug
header by Build-Id. I want to implement this (because I m generally curious
and Jon has a way of getting someone excited about compression schemes, which
is not a sentence I thought I d ever say out loud), but for now I m going to
move on without this optimization. Such a shame, since it kills a lot of the
work that went into seeking around the .deb file in the first place, given
the debian-binary and control.tar.gz members are so small.
The Good
First, the good news right? It works! That s pretty cool. I m positive
my younger self would be amused and happy to see this working; as is
current day paultag. Let s take debugfs out for a spin! First, we need
to mount the filesystem. It even works on an entirely unmodified, stock
Debian box on my LAN, which is huge. Let s take it for a spin:
$ mount \
-t 9p \
-o trans=tcp,version=9p2000.u,aname=unstable-debug \
192.168.0.2 \
/usr/lib/debug/.build-id/
And, let s prove to ourselves that this actually mounted before we go
trying to use it:
$ mount grep build-id
192.168.0.2 on /usr/lib/debug/.build-id type 9p (rw,relatime,aname=unstable-debug,access=user,trans=tcp,version=9p2000.u,port=564)
Slick. We ve got an open connection to the server, where our host
will keep a connection alive as root, attached to the filesystem provided
in aname. Let s take a look at it.
$ ls /usr/lib/debug/.build-id/
00 0d 1a 27 34 41 4e 5b 68 75 82 8E 9b a8 b5 c2 CE db e7 f3
01 0e 1b 28 35 42 4f 5c 69 76 83 8f 9c a9 b6 c3 cf dc E7 f4
02 0f 1c 29 36 43 50 5d 6a 77 84 90 9d aa b7 c4 d0 dd e8 f5
03 10 1d 2a 37 44 51 5e 6b 78 85 91 9e ab b8 c5 d1 de e9 f6
04 11 1e 2b 38 45 52 5f 6c 79 86 92 9f ac b9 c6 d2 df ea f7
05 12 1f 2c 39 46 53 60 6d 7a 87 93 a0 ad ba c7 d3 e0 eb f8
06 13 20 2d 3a 47 54 61 6e 7b 88 94 a1 ae bb c8 d4 e1 ec f9
07 14 21 2e 3b 48 55 62 6f 7c 89 95 a2 af bc c9 d5 e2 ed fa
08 15 22 2f 3c 49 56 63 70 7d 8a 96 a3 b0 bd ca d6 e3 ee fb
09 16 23 30 3d 4a 57 64 71 7e 8b 97 a4 b1 be cb d7 e4 ef fc
0a 17 24 31 3e 4b 58 65 72 7f 8c 98 a5 b2 bf cc d8 E4 f0 fd
0b 18 25 32 3f 4c 59 66 73 80 8d 99 a6 b3 c0 cd d9 e5 f1 fe
0c 19 26 33 40 4d 5a 67 74 81 8e 9a a7 b4 c1 ce da e6 f2 ff
Outstanding. Let s try using gdb to debug a binary that was provided by
the Debian archive, and see if it ll load the ELF by build-id from the
right .deb in the unstable-debug suite:
$ gdb -q /usr/sbin/netlabelctl
Reading symbols from /usr/sbin/netlabelctl...
Reading symbols from /usr/lib/debug/.build-id/e5/9f81f6573dadd5d95a6e4474d9388ab2777e2a.debug...
(gdb)
Yes! Yes it will!
$ file /usr/lib/debug/.build-id/e5/9f81f6573dadd5d95a6e4474d9388ab2777e2a.debug
/usr/lib/debug/.build-id/e5/9f81f6573dadd5d95a6e4474d9388ab2777e2a.debug: ELF 64-bit LSB shared object, x86-64, version 1 (SYSV), dynamically linked, interpreter *empty*, BuildID[sha1]=e59f81f6573dadd5d95a6e4474d9388ab2777e2a, for GNU/Linux 3.2.0, with debug_info, not stripped
The Bad
Linux s support for 9p is mainline, which is great, but it s not robust.
Network issues or server restarts will wedge the mountpoint (Linux can t
reconnect when the tcp connection breaks), and things that work fine on local
filesystems get translated in a way that causes a lot of network chatter for
instance, just due to the way the syscalls are translated, doing an ls, will
result in a stat call for each file in the directory, even though linux had
just got a stat entry for every file while it was resolving directory names.
On top of that, Linux will serialize all I/O with the server, so there s no
concurrent requests for file information, writes, or reads pending at the same
time to the server; and read and write throughput will degrade as latency
increases due to increasing round-trip time, even though there are offsets
included in the read and write calls. It works well enough, but is
frustrating to run up against, since there s not a lot you can do server-side
to help with this beyond implementing the 9P2000.L variant (which, maybe is
worth it).
The Ugly
Unfortunately, we don t know the file size(s) until we ve actually opened the
underlying tar file and found the correct member, so for most files, we don t
know the real size to report when getting a stat. We can t parse the tarfiles
for every stat call, since that d make ls even slower (bummer). Only
hiccup is that when I report a filesize of zero, gdb throws a bit of a
fit; let s try with a size of 0 to start:
$ ls -lah /usr/lib/debug/.build-id/e5/9f81f6573dadd5d95a6e4474d9388ab2777e2a.debug
-r--r--r-- 1 root root 0 Dec 31 1969 /usr/lib/debug/.build-id/e5/9f81f6573dadd5d95a6e4474d9388ab2777e2a.debug
$ gdb -q /usr/sbin/netlabelctl
Reading symbols from /usr/sbin/netlabelctl...
Reading symbols from /usr/lib/debug/.build-id/e5/9f81f6573dadd5d95a6e4474d9388ab2777e2a.debug...
warning: Discarding section .note.gnu.build-id which has a section size (24) larger than the file size [in module /usr/lib/debug/.build-id/e5/9f81f6573dadd5d95a6e4474d9388ab2777e2a.debug]
[...]
This obviously won t work since gdb will throw away all our hard work because
of stat s output, and neither will loading the real size of the underlying
file. That only leaves us with hardcoding a file size and hope nothing else
breaks significantly as a result. Let s try it again:
$ ls -lah /usr/lib/debug/.build-id/e5/9f81f6573dadd5d95a6e4474d9388ab2777e2a.debug
-r--r--r-- 1 root root 954M Dec 31 1969 /usr/lib/debug/.build-id/e5/9f81f6573dadd5d95a6e4474d9388ab2777e2a.debug
$ gdb -q /usr/sbin/netlabelctl
Reading symbols from /usr/sbin/netlabelctl...
Reading symbols from /usr/lib/debug/.build-id/e5/9f81f6573dadd5d95a6e4474d9388ab2777e2a.debug...
(gdb)
Much better. I mean, terrible but better. Better for now, anyway.
Kilroy was here
Do I think this is a particularly good idea? I mean; kinda. I m probably going
to make some fun 9p arigato-based filesystems for use around my LAN, but I
don t think I ll be moving to use debugfs until I can figure out how to
ensure the connection is more resilient to changing networks, server restarts
and fixes on i/o performance. I think it was a useful exercise and is a pretty
great hack, but I don t think this ll be shipping anywhere anytime soon.
Along with me publishing this post, I ve pushed up all my repos; so you
should be able to play along at home! There s a lot more work to be done
on arigato; but it does handshake and successfully export a working
9P2000.u filesystem. Check it out on on my github at
arigato,
debugfs
and also on crates.io
and docs.rs.
At least I can say I was here and I got it working after all these years.
$ mount \
-t 9p \
-o trans=tcp,version=9p2000.u,aname=unstable-debug \
192.168.0.2 \
/usr/lib/debug/.build-id/
$ mount grep build-id
192.168.0.2 on /usr/lib/debug/.build-id type 9p (rw,relatime,aname=unstable-debug,access=user,trans=tcp,version=9p2000.u,port=564)
$ ls /usr/lib/debug/.build-id/
00 0d 1a 27 34 41 4e 5b 68 75 82 8E 9b a8 b5 c2 CE db e7 f3
01 0e 1b 28 35 42 4f 5c 69 76 83 8f 9c a9 b6 c3 cf dc E7 f4
02 0f 1c 29 36 43 50 5d 6a 77 84 90 9d aa b7 c4 d0 dd e8 f5
03 10 1d 2a 37 44 51 5e 6b 78 85 91 9e ab b8 c5 d1 de e9 f6
04 11 1e 2b 38 45 52 5f 6c 79 86 92 9f ac b9 c6 d2 df ea f7
05 12 1f 2c 39 46 53 60 6d 7a 87 93 a0 ad ba c7 d3 e0 eb f8
06 13 20 2d 3a 47 54 61 6e 7b 88 94 a1 ae bb c8 d4 e1 ec f9
07 14 21 2e 3b 48 55 62 6f 7c 89 95 a2 af bc c9 d5 e2 ed fa
08 15 22 2f 3c 49 56 63 70 7d 8a 96 a3 b0 bd ca d6 e3 ee fb
09 16 23 30 3d 4a 57 64 71 7e 8b 97 a4 b1 be cb d7 e4 ef fc
0a 17 24 31 3e 4b 58 65 72 7f 8c 98 a5 b2 bf cc d8 E4 f0 fd
0b 18 25 32 3f 4c 59 66 73 80 8d 99 a6 b3 c0 cd d9 e5 f1 fe
0c 19 26 33 40 4d 5a 67 74 81 8e 9a a7 b4 c1 ce da e6 f2 ff
$ gdb -q /usr/sbin/netlabelctl
Reading symbols from /usr/sbin/netlabelctl...
Reading symbols from /usr/lib/debug/.build-id/e5/9f81f6573dadd5d95a6e4474d9388ab2777e2a.debug...
(gdb)
$ file /usr/lib/debug/.build-id/e5/9f81f6573dadd5d95a6e4474d9388ab2777e2a.debug
/usr/lib/debug/.build-id/e5/9f81f6573dadd5d95a6e4474d9388ab2777e2a.debug: ELF 64-bit LSB shared object, x86-64, version 1 (SYSV), dynamically linked, interpreter *empty*, BuildID[sha1]=e59f81f6573dadd5d95a6e4474d9388ab2777e2a, for GNU/Linux 3.2.0, with debug_info, not stripped
9p is mainline, which is great, but it s not robust.
Network issues or server restarts will wedge the mountpoint (Linux can t
reconnect when the tcp connection breaks), and things that work fine on local
filesystems get translated in a way that causes a lot of network chatter for
instance, just due to the way the syscalls are translated, doing an ls, will
result in a stat call for each file in the directory, even though linux had
just got a stat entry for every file while it was resolving directory names.
On top of that, Linux will serialize all I/O with the server, so there s no
concurrent requests for file information, writes, or reads pending at the same
time to the server; and read and write throughput will degrade as latency
increases due to increasing round-trip time, even though there are offsets
included in the read and write calls. It works well enough, but is
frustrating to run up against, since there s not a lot you can do server-side
to help with this beyond implementing the 9P2000.L variant (which, maybe is
worth it).
The Ugly
Unfortunately, we don t know the file size(s) until we ve actually opened the
underlying tar file and found the correct member, so for most files, we don t
know the real size to report when getting a stat. We can t parse the tarfiles
for every stat call, since that d make ls even slower (bummer). Only
hiccup is that when I report a filesize of zero, gdb throws a bit of a
fit; let s try with a size of 0 to start:
$ ls -lah /usr/lib/debug/.build-id/e5/9f81f6573dadd5d95a6e4474d9388ab2777e2a.debug
-r--r--r-- 1 root root 0 Dec 31 1969 /usr/lib/debug/.build-id/e5/9f81f6573dadd5d95a6e4474d9388ab2777e2a.debug
$ gdb -q /usr/sbin/netlabelctl
Reading symbols from /usr/sbin/netlabelctl...
Reading symbols from /usr/lib/debug/.build-id/e5/9f81f6573dadd5d95a6e4474d9388ab2777e2a.debug...
warning: Discarding section .note.gnu.build-id which has a section size (24) larger than the file size [in module /usr/lib/debug/.build-id/e5/9f81f6573dadd5d95a6e4474d9388ab2777e2a.debug]
[...]
This obviously won t work since gdb will throw away all our hard work because
of stat s output, and neither will loading the real size of the underlying
file. That only leaves us with hardcoding a file size and hope nothing else
breaks significantly as a result. Let s try it again:
$ ls -lah /usr/lib/debug/.build-id/e5/9f81f6573dadd5d95a6e4474d9388ab2777e2a.debug
-r--r--r-- 1 root root 954M Dec 31 1969 /usr/lib/debug/.build-id/e5/9f81f6573dadd5d95a6e4474d9388ab2777e2a.debug
$ gdb -q /usr/sbin/netlabelctl
Reading symbols from /usr/sbin/netlabelctl...
Reading symbols from /usr/lib/debug/.build-id/e5/9f81f6573dadd5d95a6e4474d9388ab2777e2a.debug...
(gdb)
Much better. I mean, terrible but better. Better for now, anyway.
Kilroy was here
Do I think this is a particularly good idea? I mean; kinda. I m probably going
to make some fun 9p arigato-based filesystems for use around my LAN, but I
don t think I ll be moving to use debugfs until I can figure out how to
ensure the connection is more resilient to changing networks, server restarts
and fixes on i/o performance. I think it was a useful exercise and is a pretty
great hack, but I don t think this ll be shipping anywhere anytime soon.
Along with me publishing this post, I ve pushed up all my repos; so you
should be able to play along at home! There s a lot more work to be done
on arigato; but it does handshake and successfully export a working
9P2000.u filesystem. Check it out on on my github at
arigato,
debugfs
and also on crates.io
and docs.rs.
At least I can say I was here and I got it working after all these years.
$ ls -lah /usr/lib/debug/.build-id/e5/9f81f6573dadd5d95a6e4474d9388ab2777e2a.debug
-r--r--r-- 1 root root 0 Dec 31 1969 /usr/lib/debug/.build-id/e5/9f81f6573dadd5d95a6e4474d9388ab2777e2a.debug
$ gdb -q /usr/sbin/netlabelctl
Reading symbols from /usr/sbin/netlabelctl...
Reading symbols from /usr/lib/debug/.build-id/e5/9f81f6573dadd5d95a6e4474d9388ab2777e2a.debug...
warning: Discarding section .note.gnu.build-id which has a section size (24) larger than the file size [in module /usr/lib/debug/.build-id/e5/9f81f6573dadd5d95a6e4474d9388ab2777e2a.debug]
[...]
$ ls -lah /usr/lib/debug/.build-id/e5/9f81f6573dadd5d95a6e4474d9388ab2777e2a.debug
-r--r--r-- 1 root root 954M Dec 31 1969 /usr/lib/debug/.build-id/e5/9f81f6573dadd5d95a6e4474d9388ab2777e2a.debug
$ gdb -q /usr/sbin/netlabelctl
Reading symbols from /usr/sbin/netlabelctl...
Reading symbols from /usr/lib/debug/.build-id/e5/9f81f6573dadd5d95a6e4474d9388ab2777e2a.debug...
(gdb)
9p arigato-based filesystems for use around my LAN, but I
don t think I ll be moving to use debugfs until I can figure out how to
ensure the connection is more resilient to changing networks, server restarts
and fixes on i/o performance. I think it was a useful exercise and is a pretty
great hack, but I don t think this ll be shipping anywhere anytime soon.
Along with me publishing this post, I ve pushed up all my repos; so you
should be able to play along at home! There s a lot more work to be done
on arigato; but it does handshake and successfully export a working
9P2000.u filesystem. Check it out on on my github at
arigato,
debugfs
and also on crates.io
and docs.rs.
At least I can say I was here and I got it working after all these years.


 A short status update what happened last month. Work in progress is marked as WiP:
GNOME Calls

 Like each month, have a look at the work funded by
  After seven years of service as member and secretary on the GHC Steering Committee, I have resigned from that role. So this is a good time to look back and retrace the formation of the GHC proposal process and committee.
In my memory, I helped define and shape the proposal process, optimizing it for effectiveness and throughput, but memory can be misleading, and judging from the paper trail in my email archives, this was indeed mostly Ben Gamari s and Richard Eisenberg s achievement: Already in Summer of 2016, Ben Gamari set up the


 This post should have marked the beginning of my yearly roundups of the favourite books and movies I read and watched in 2023.
However, due to coming down with a nasty bout of flu recently and other sundry commitments, I wasn't able to undertake writing the necessary four or five blog posts In lieu of this, however, I will simply present my (unordered and unadorned) highlights for now. Do get in touch if this (or any of my previous posts) have spurred you into picking something up yourself


 The Emacs part is superceded by
  This post describes how I m using

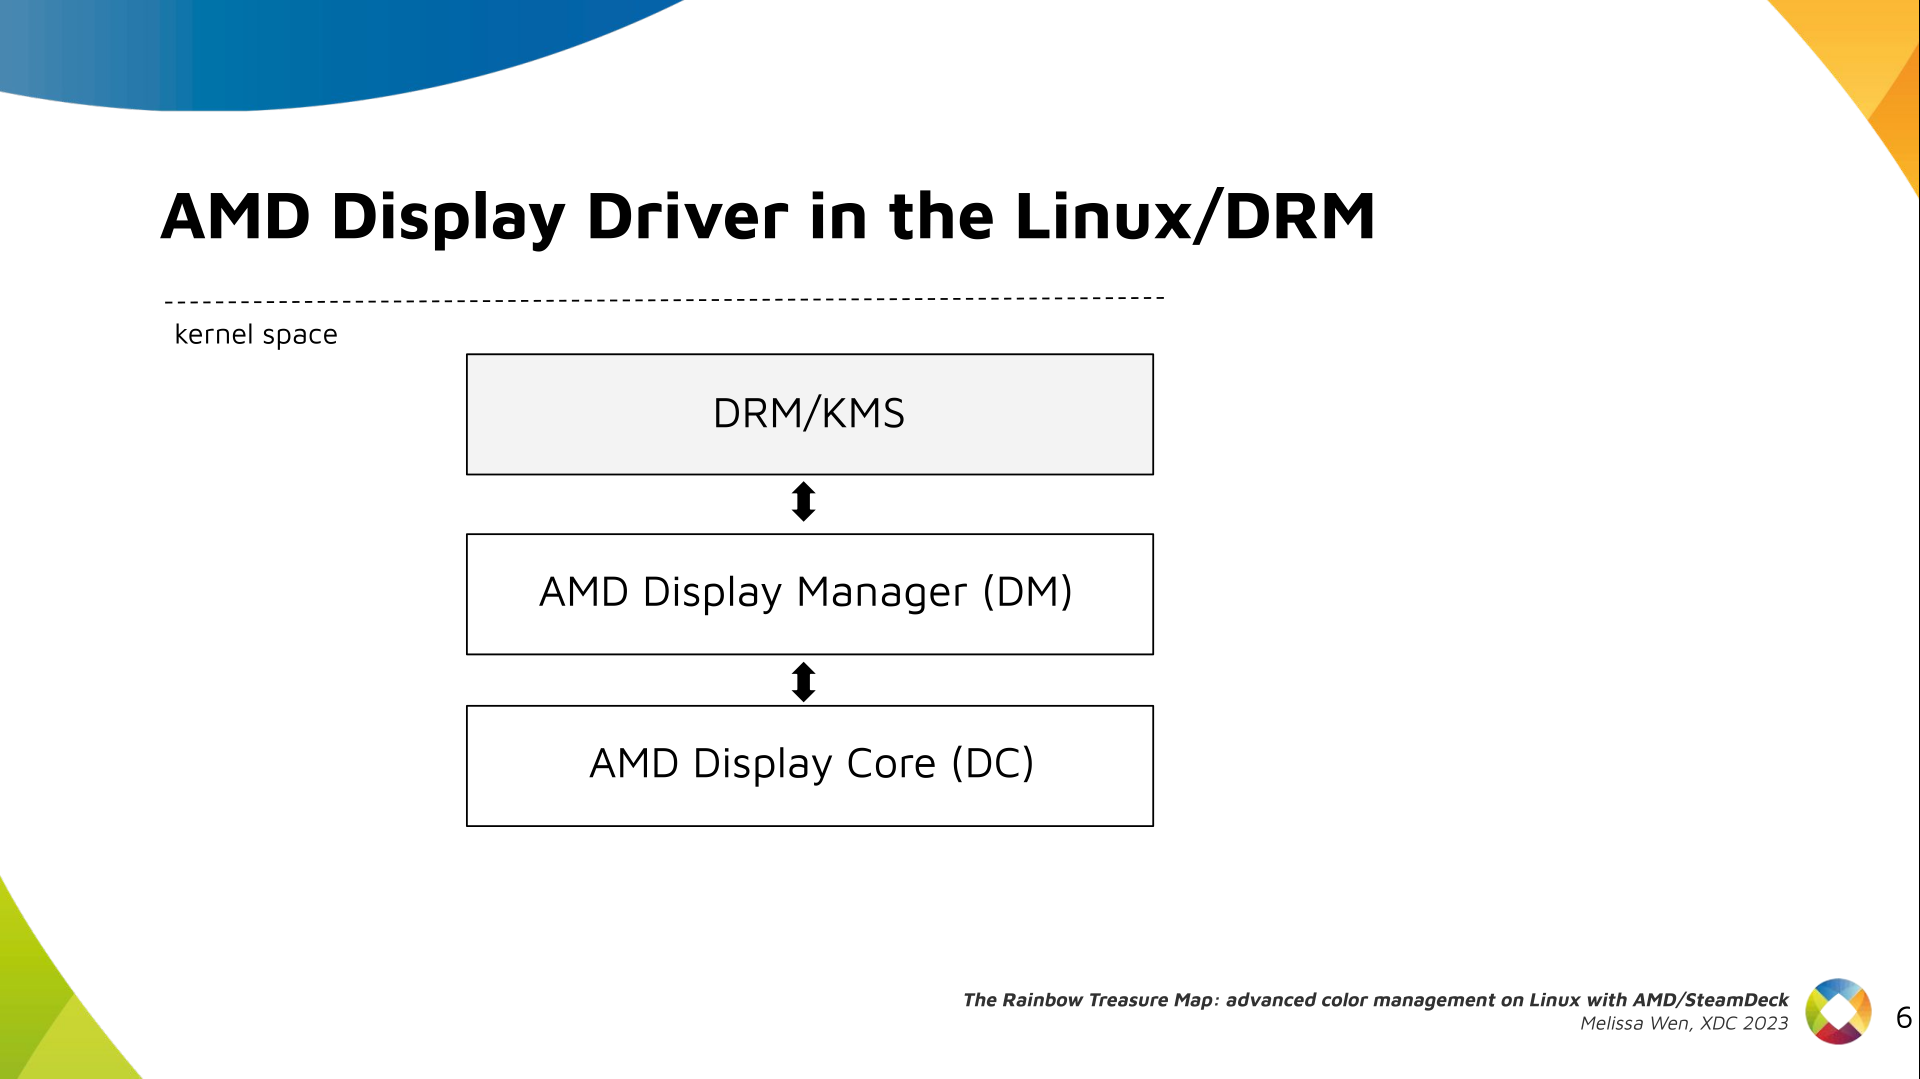
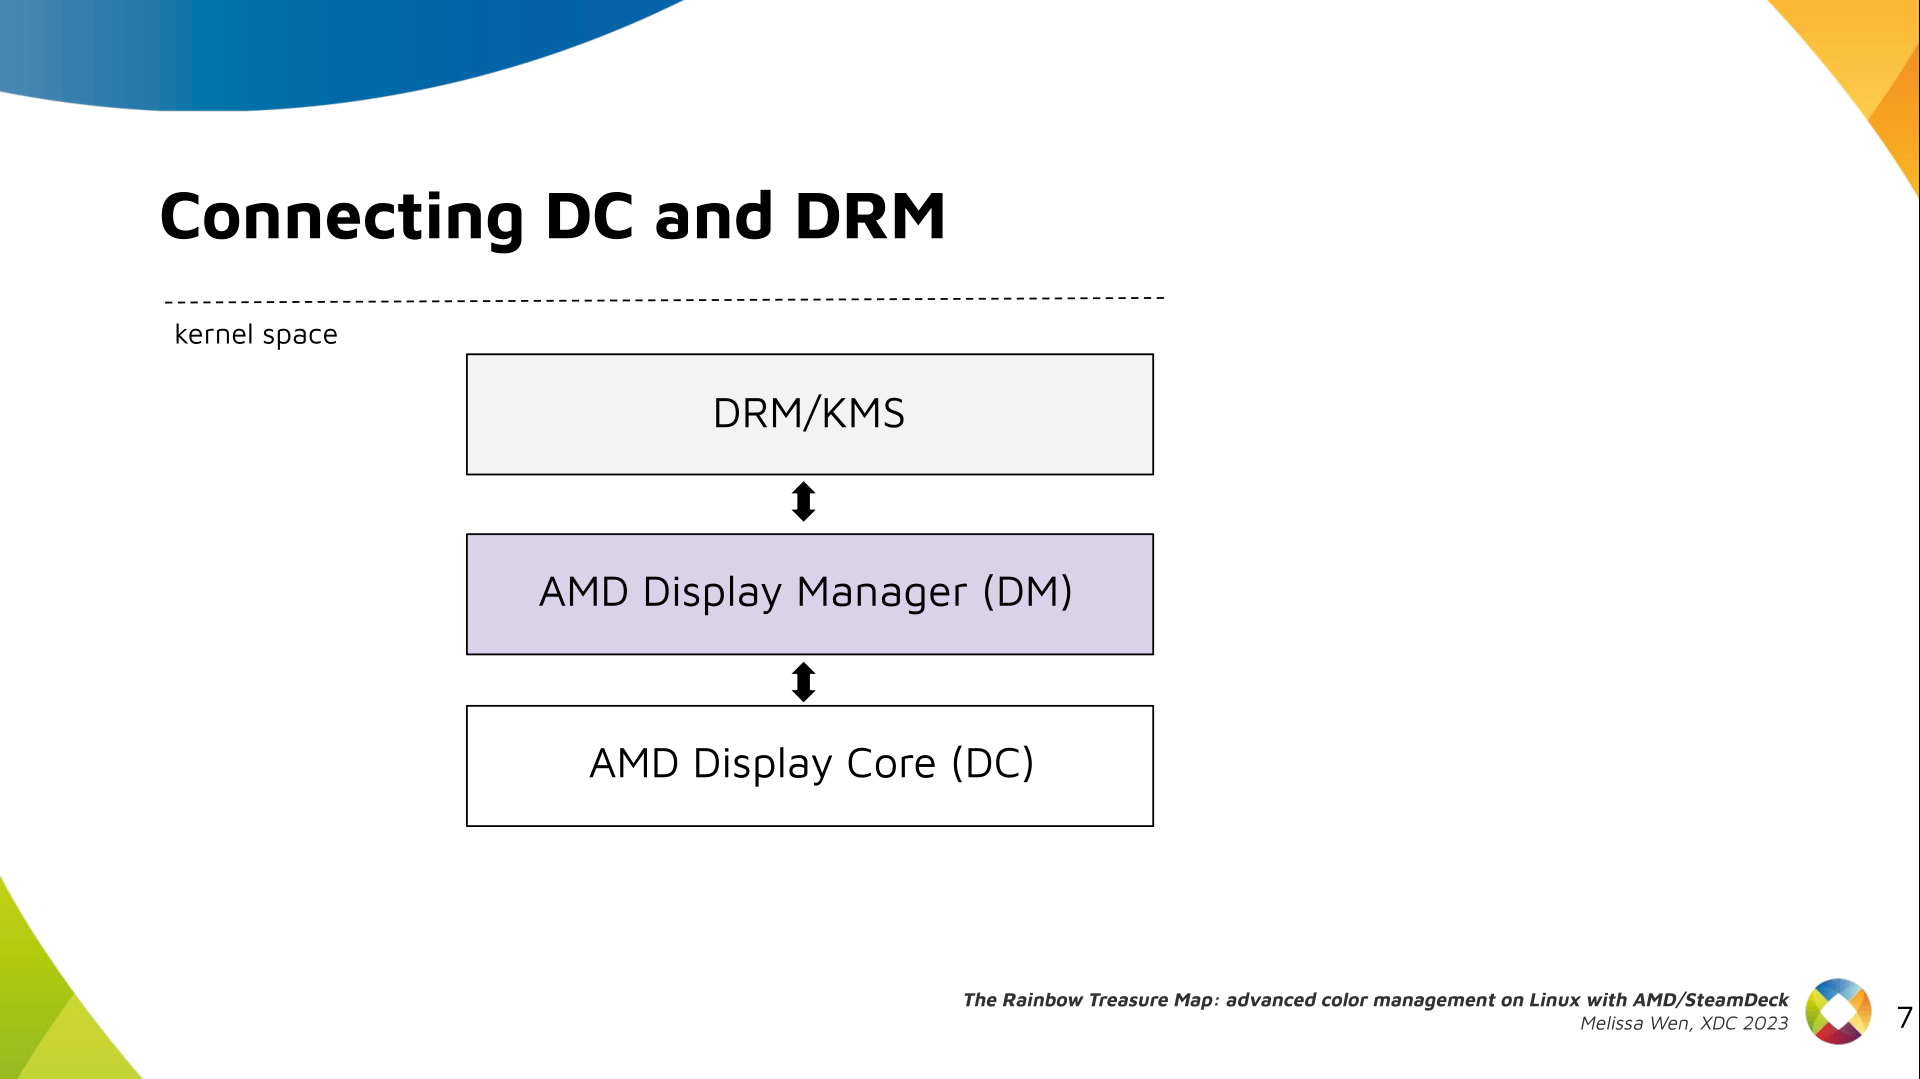
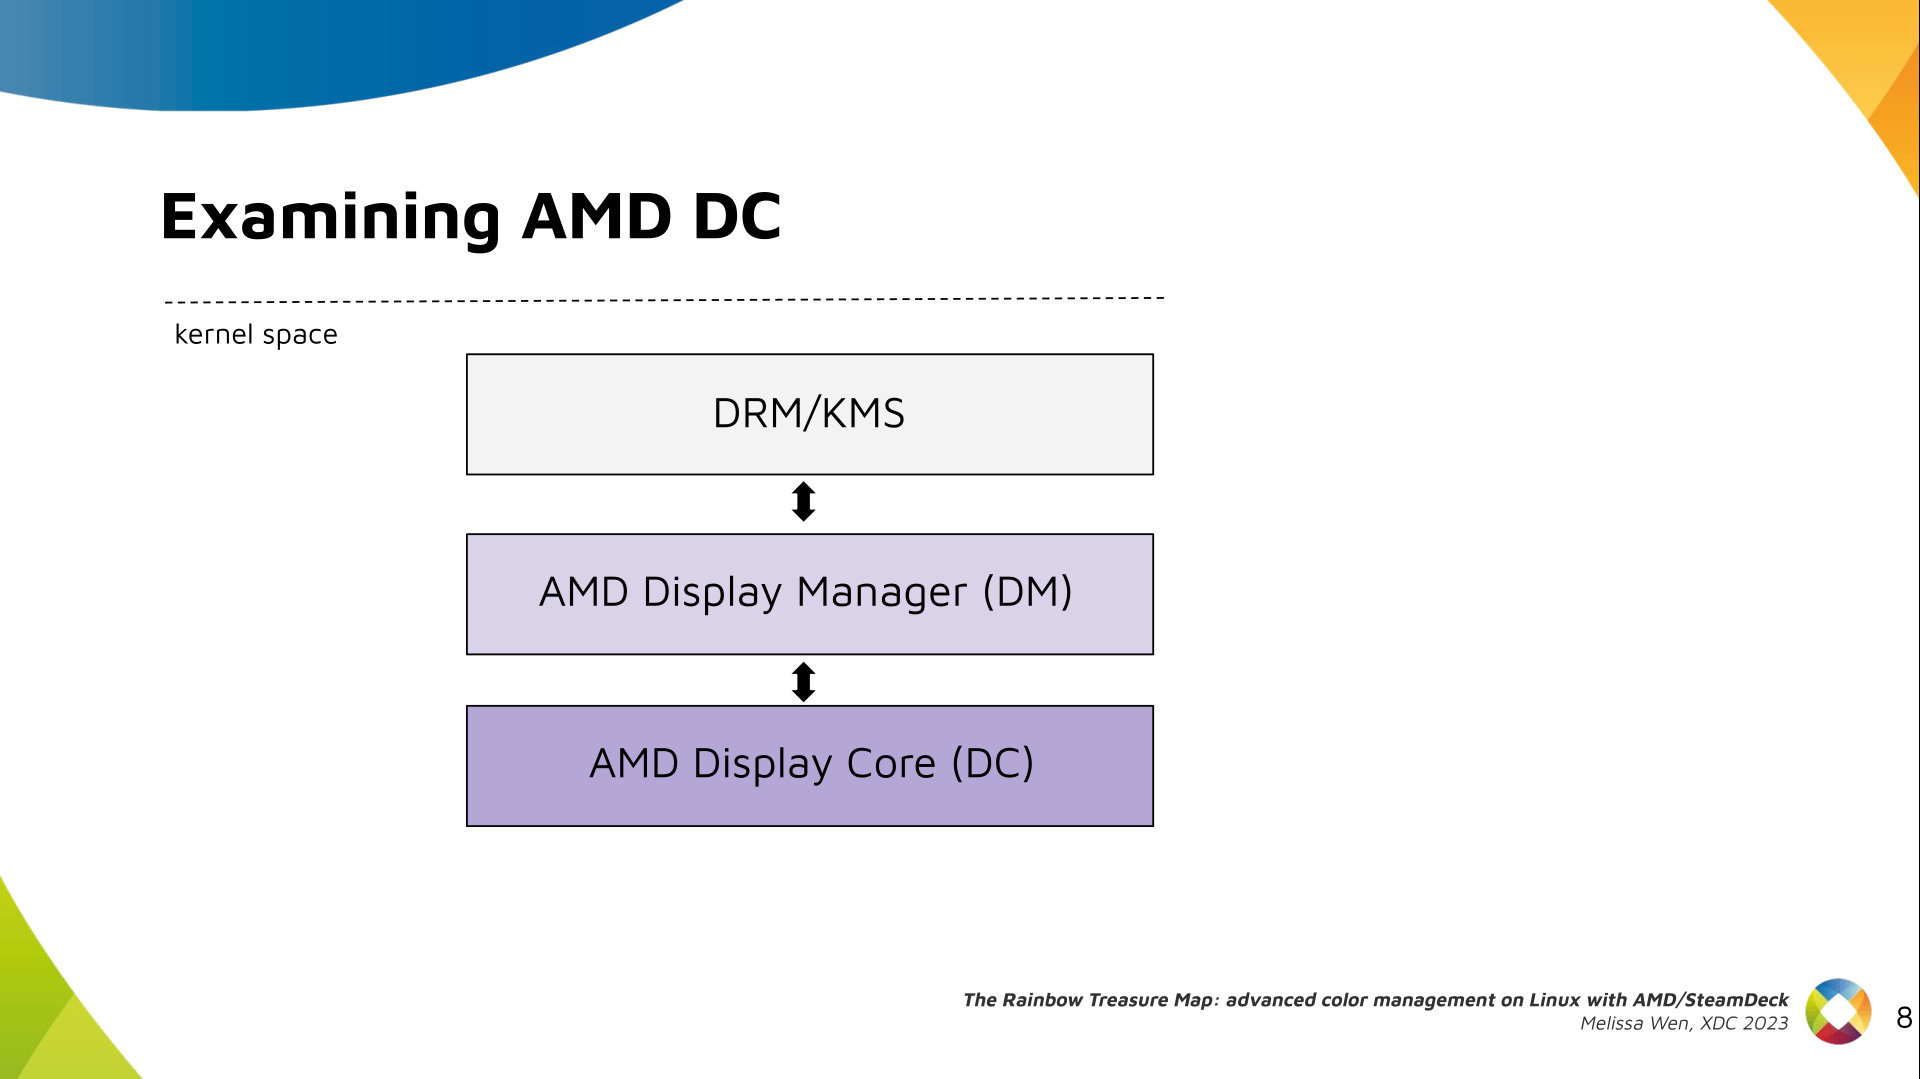
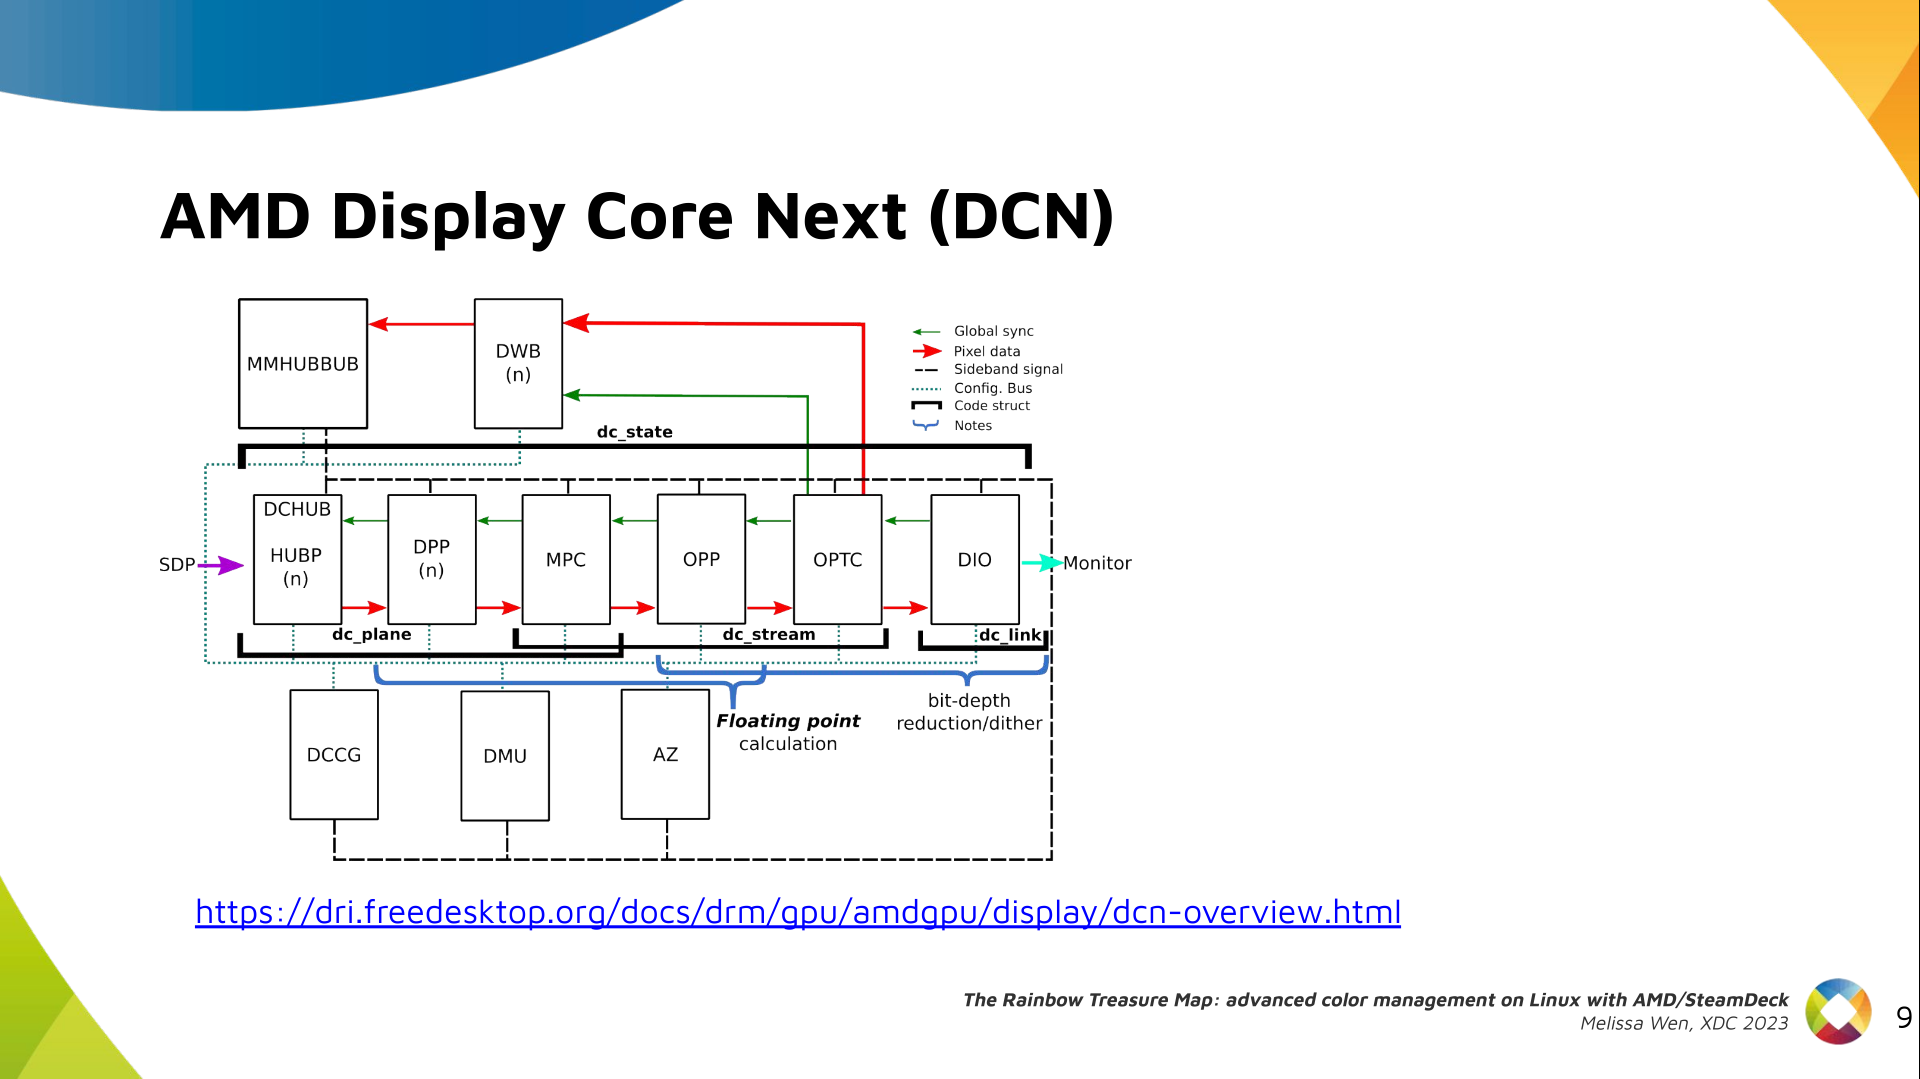
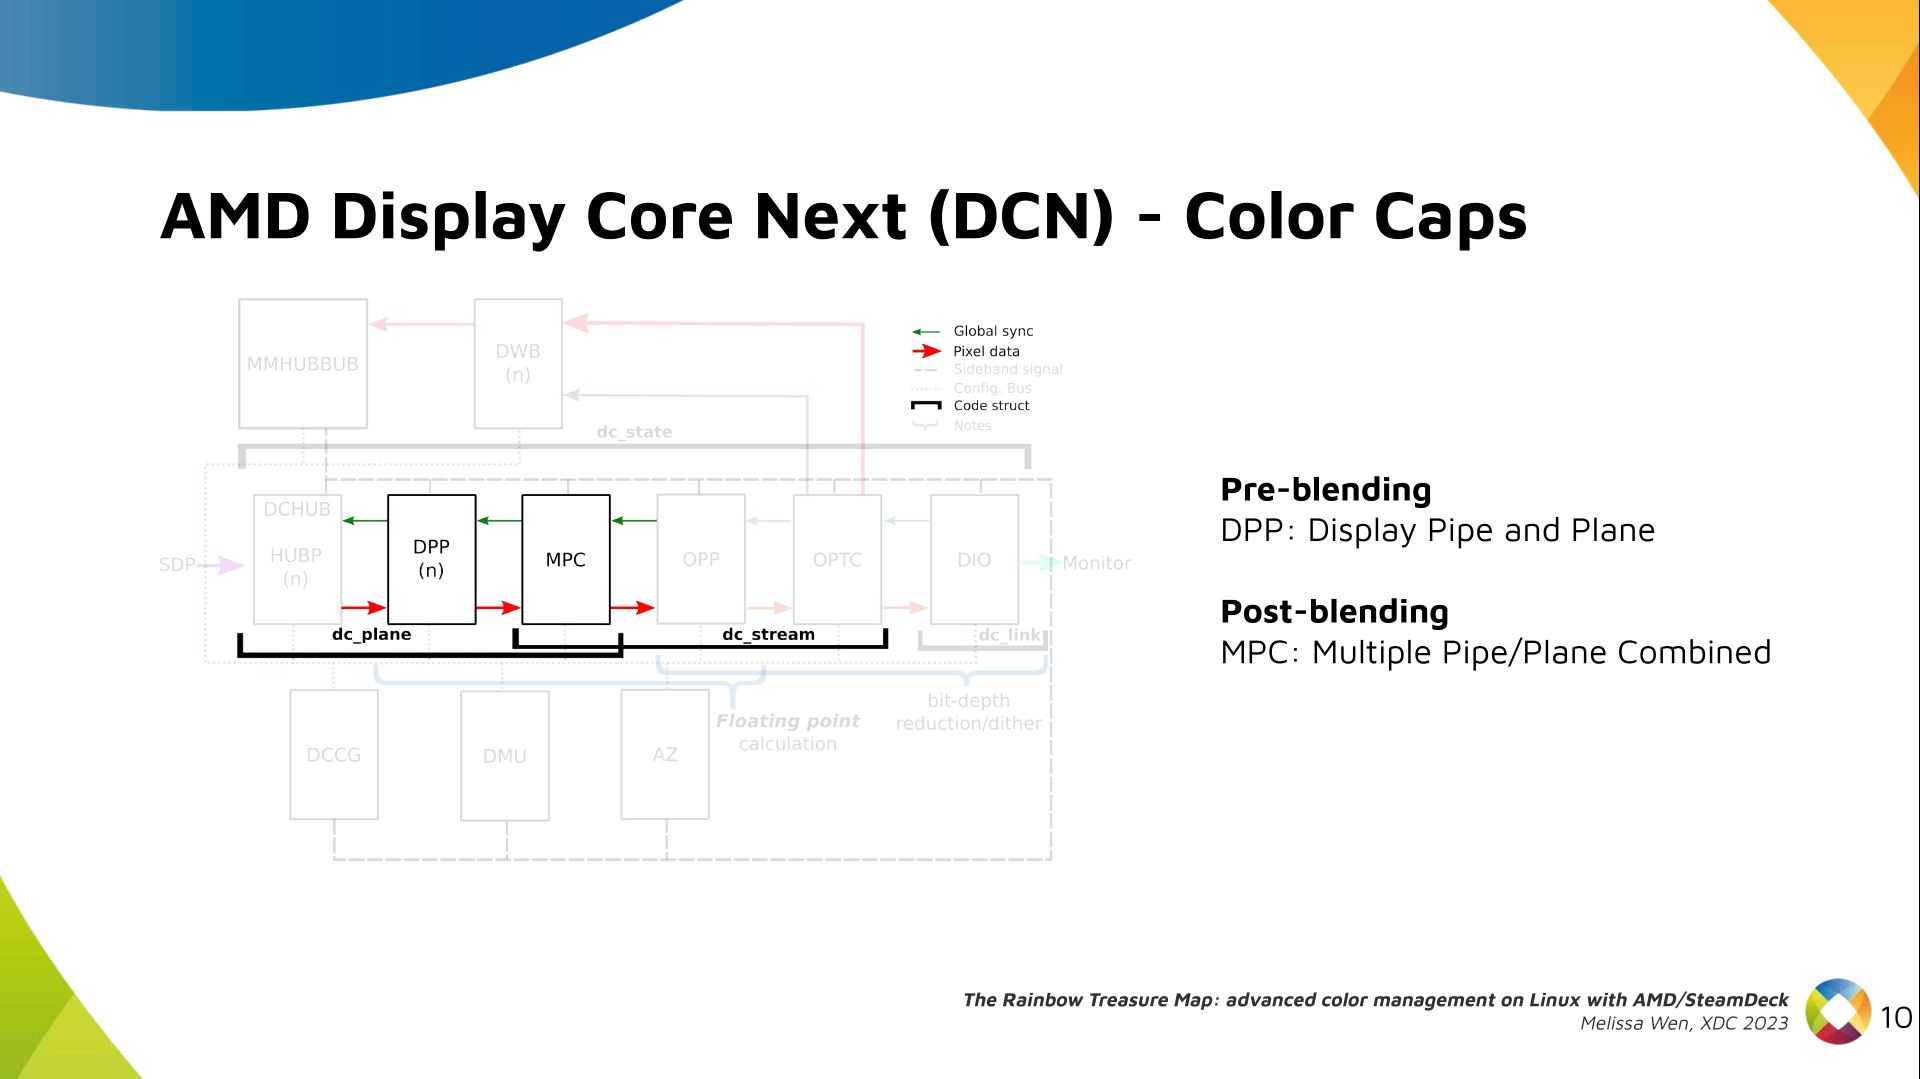
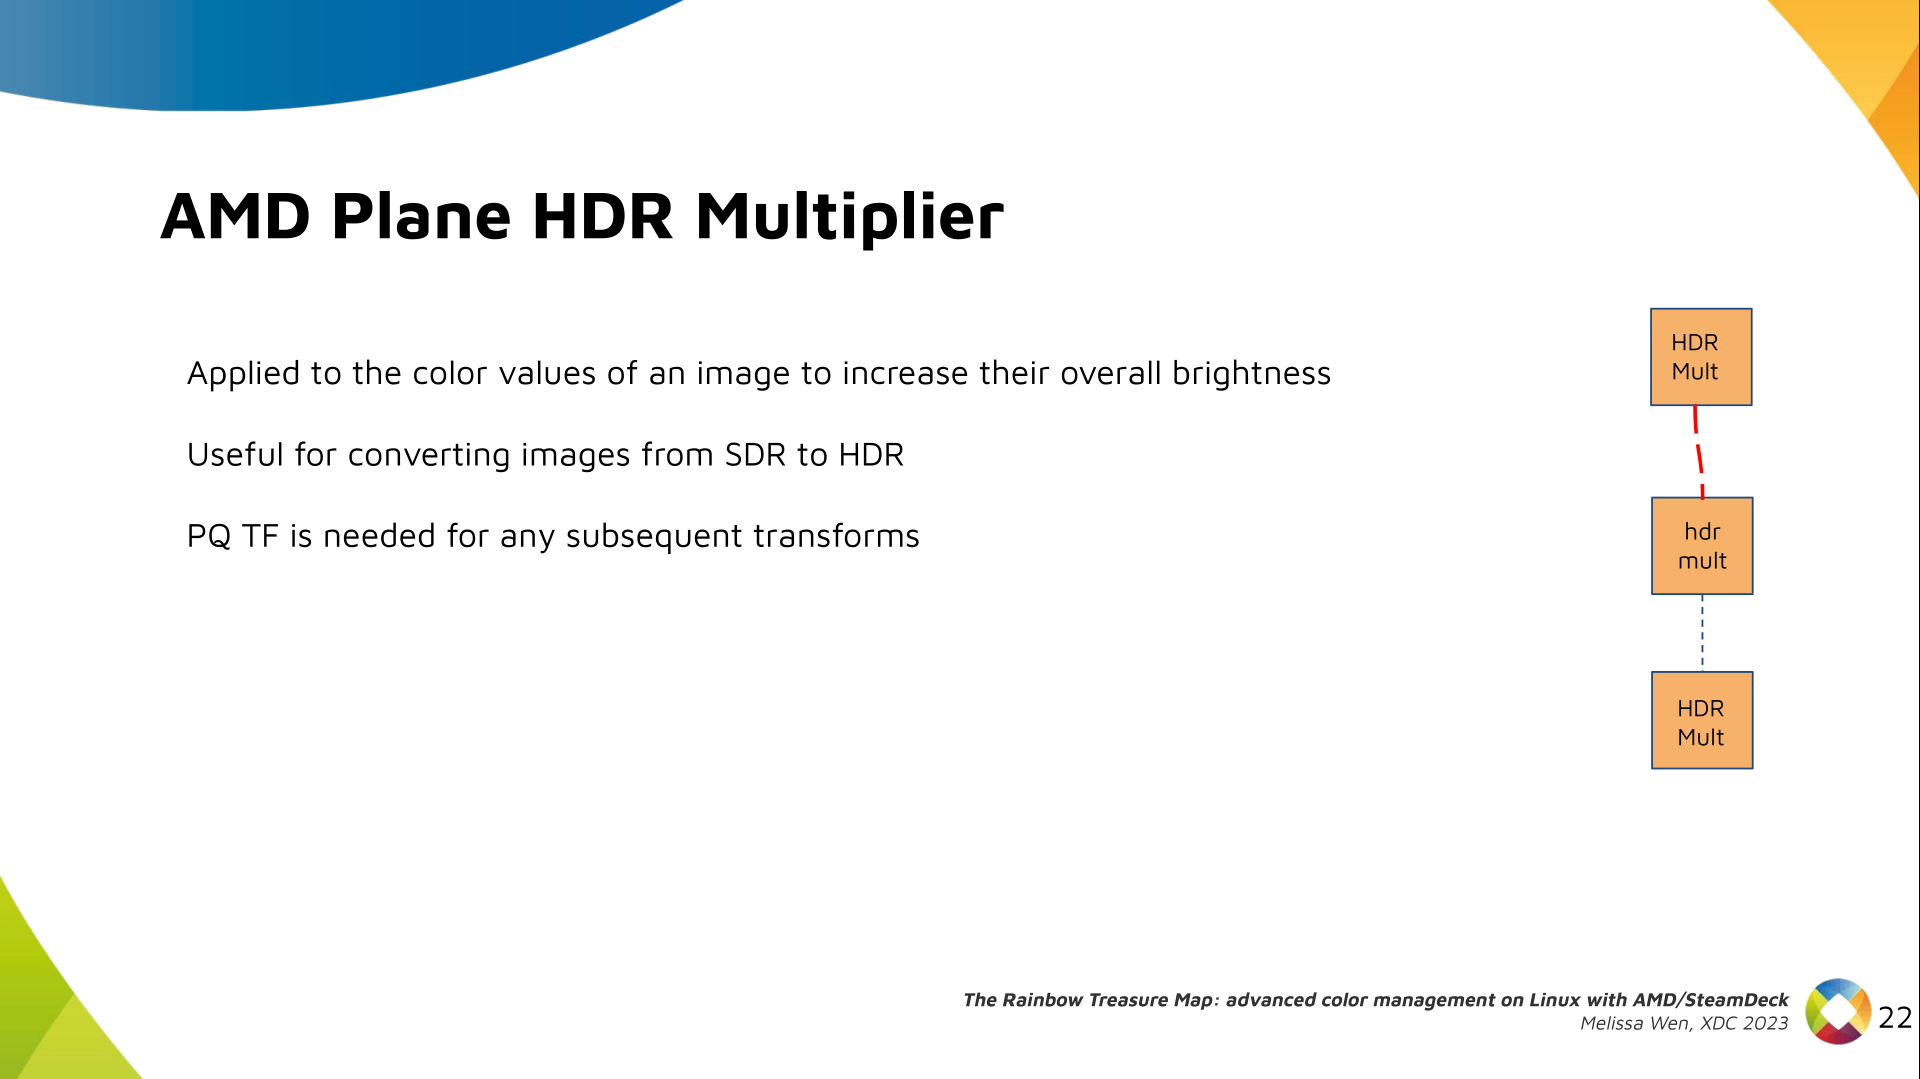
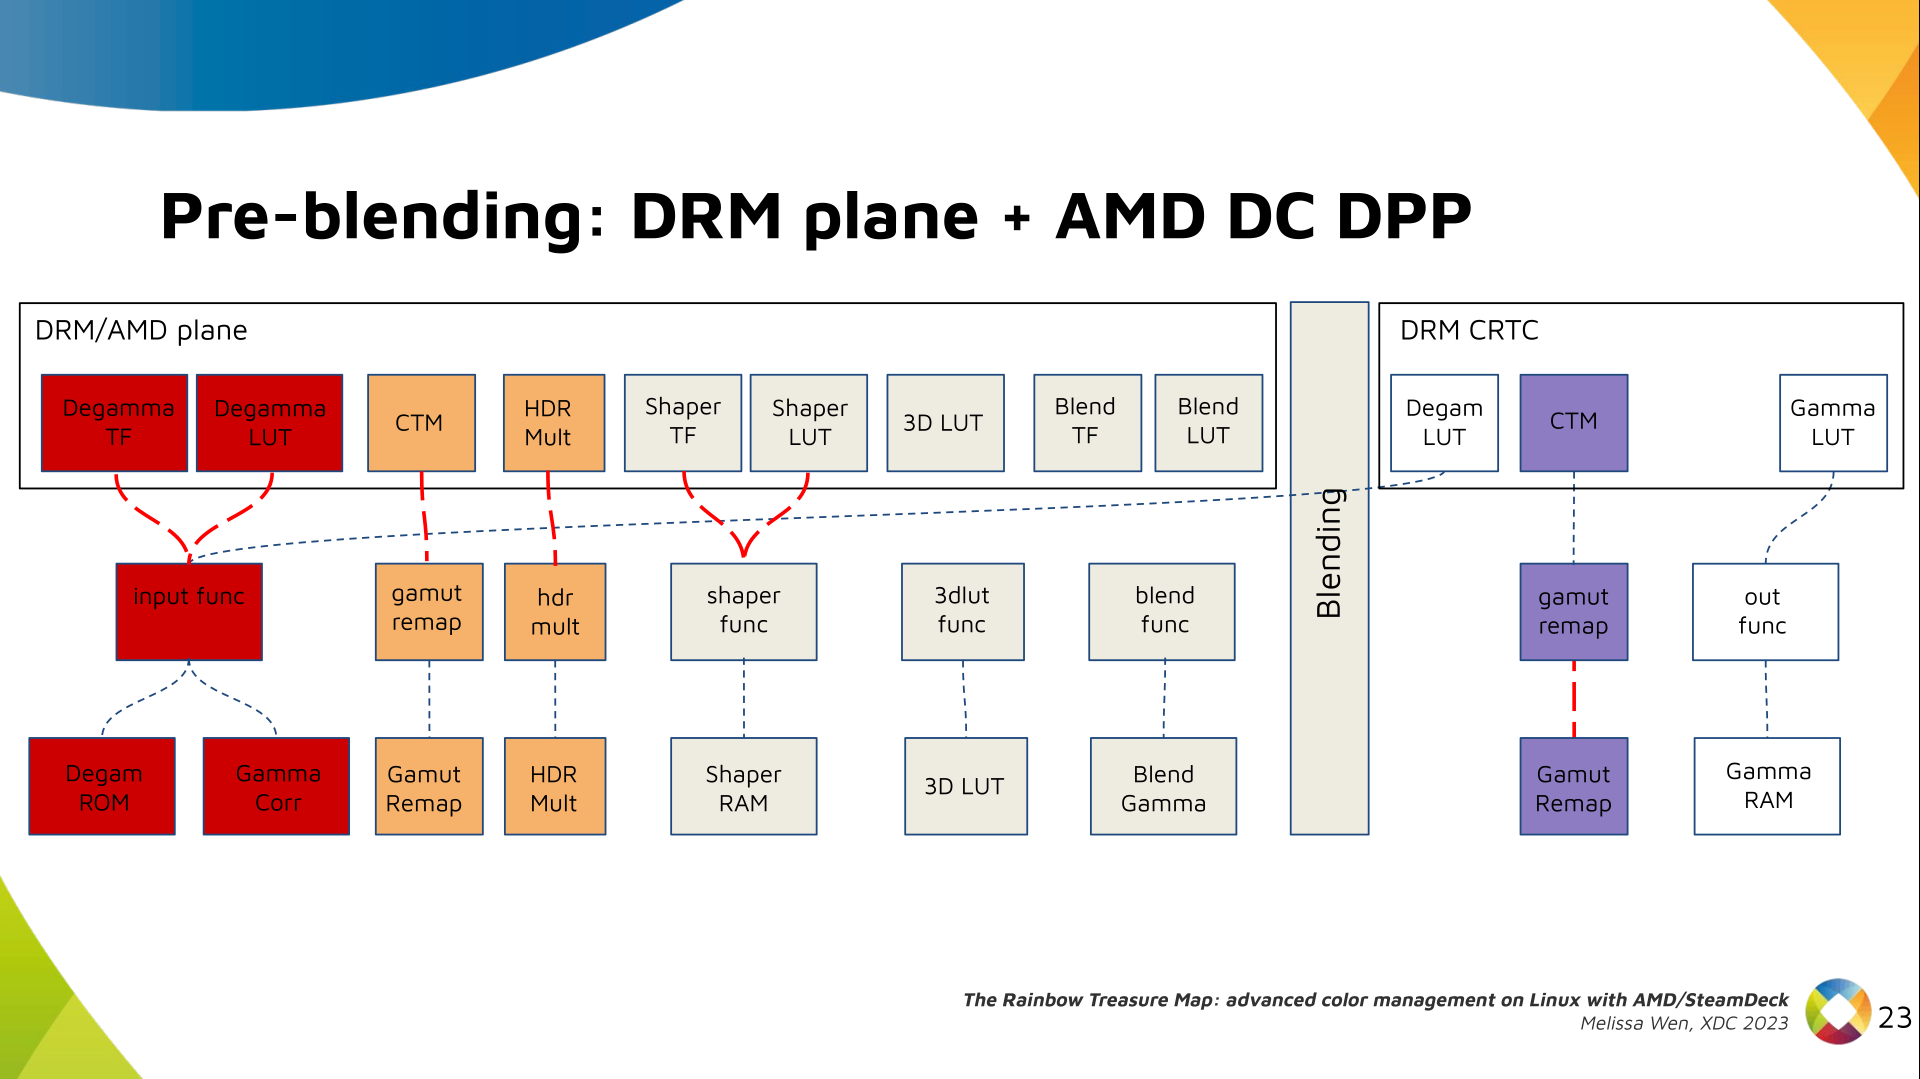
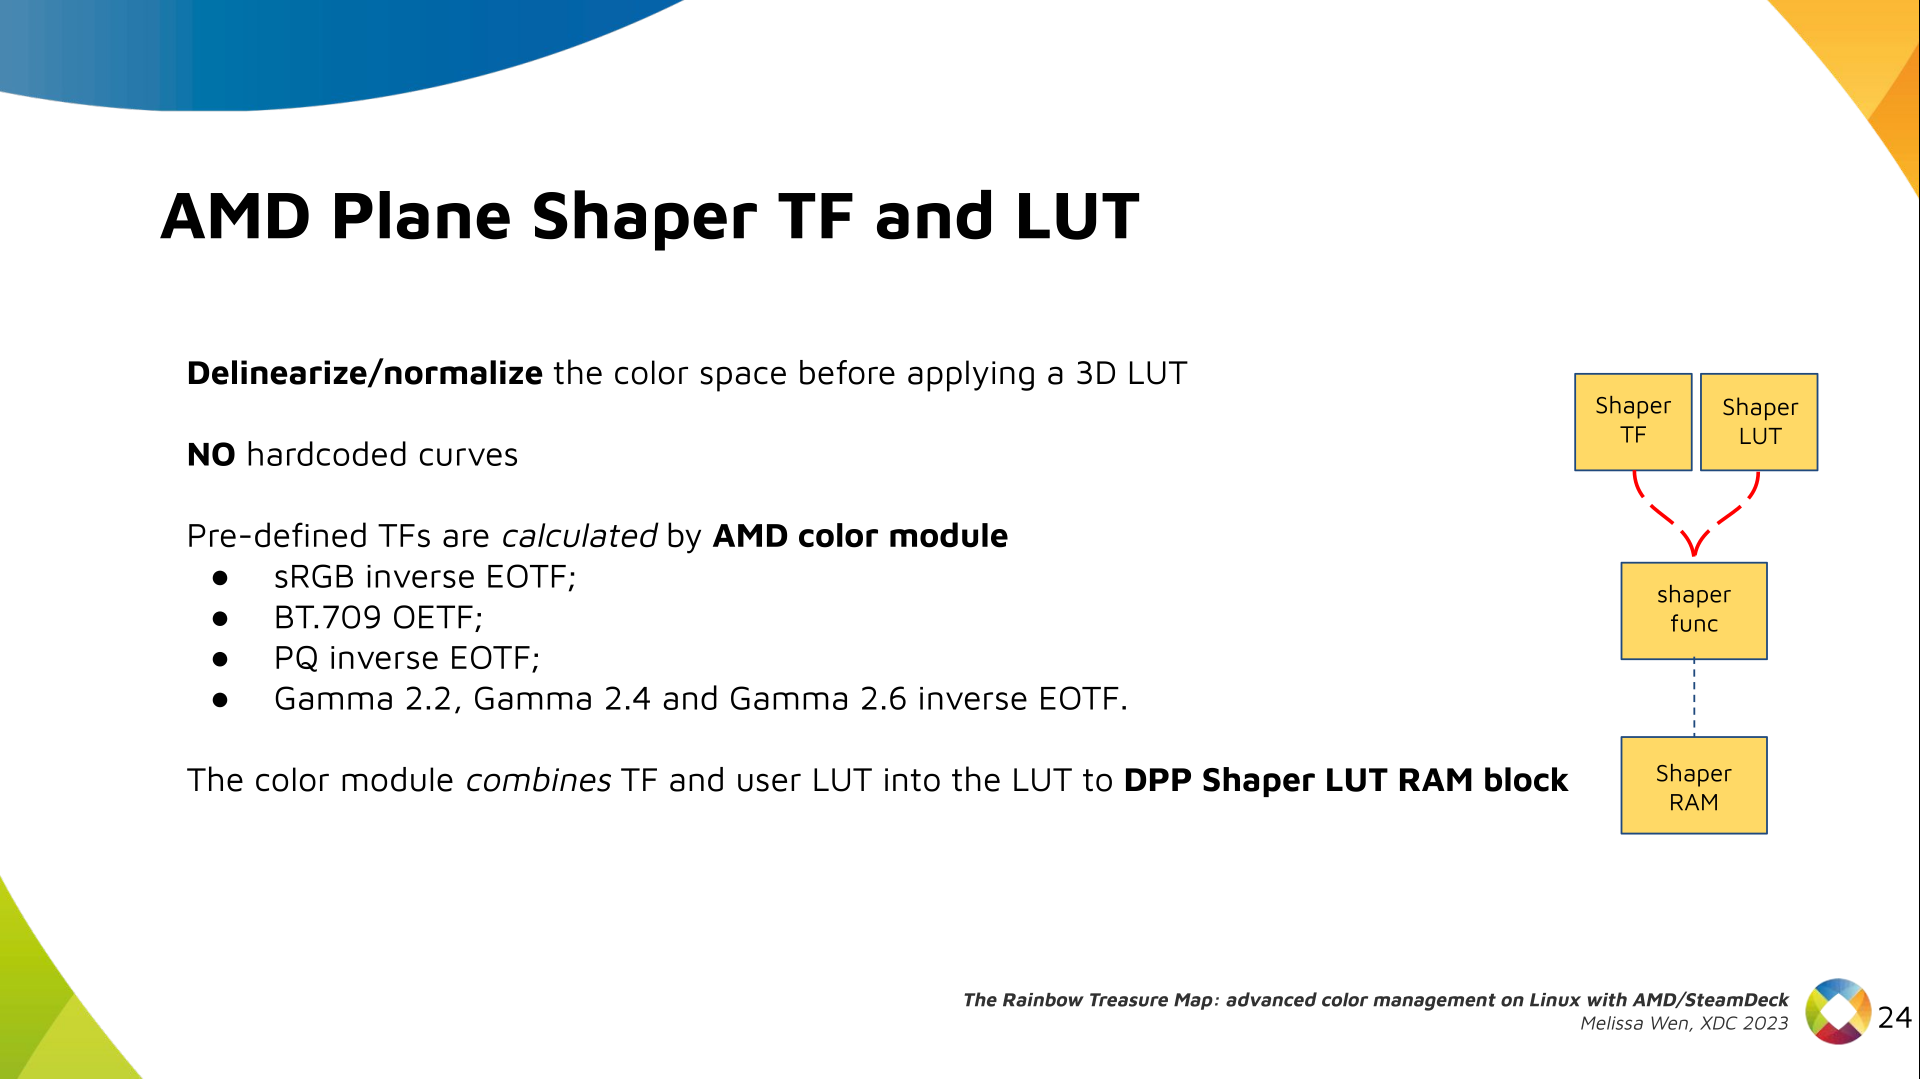
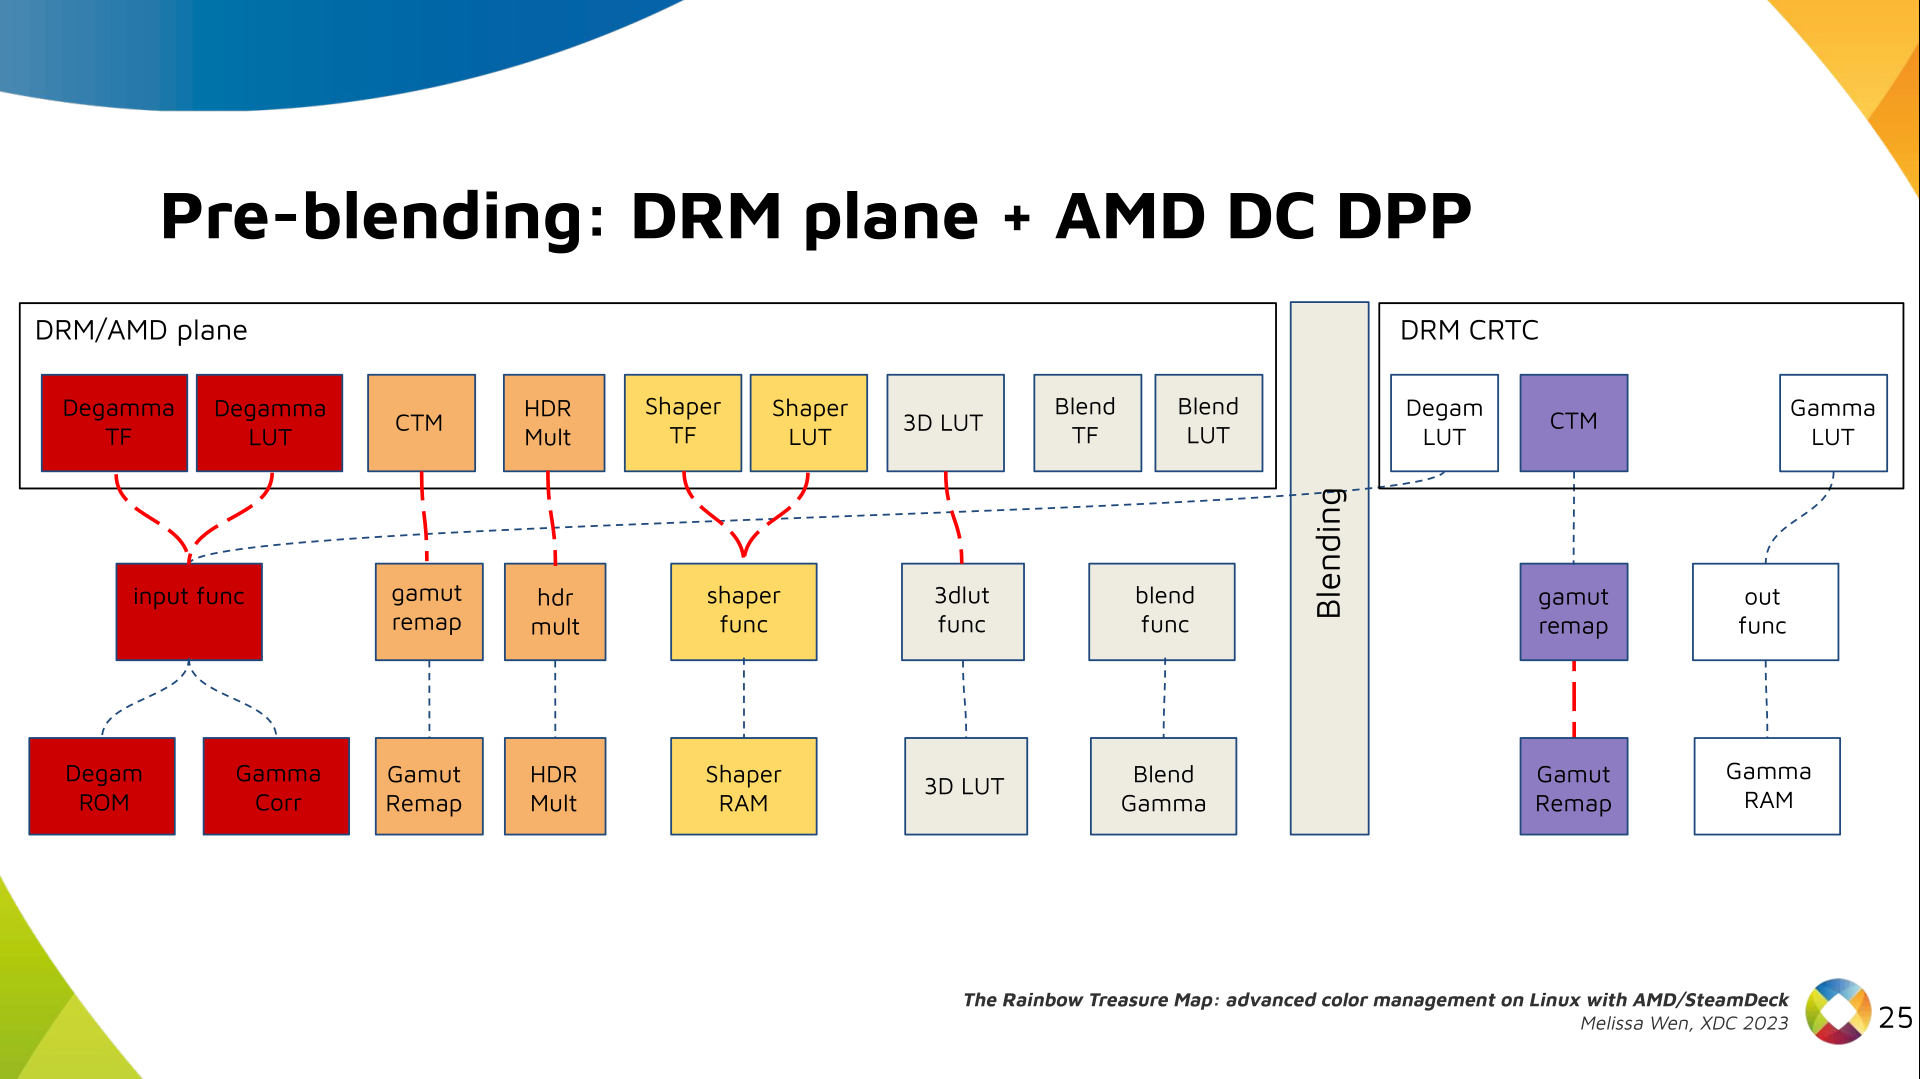
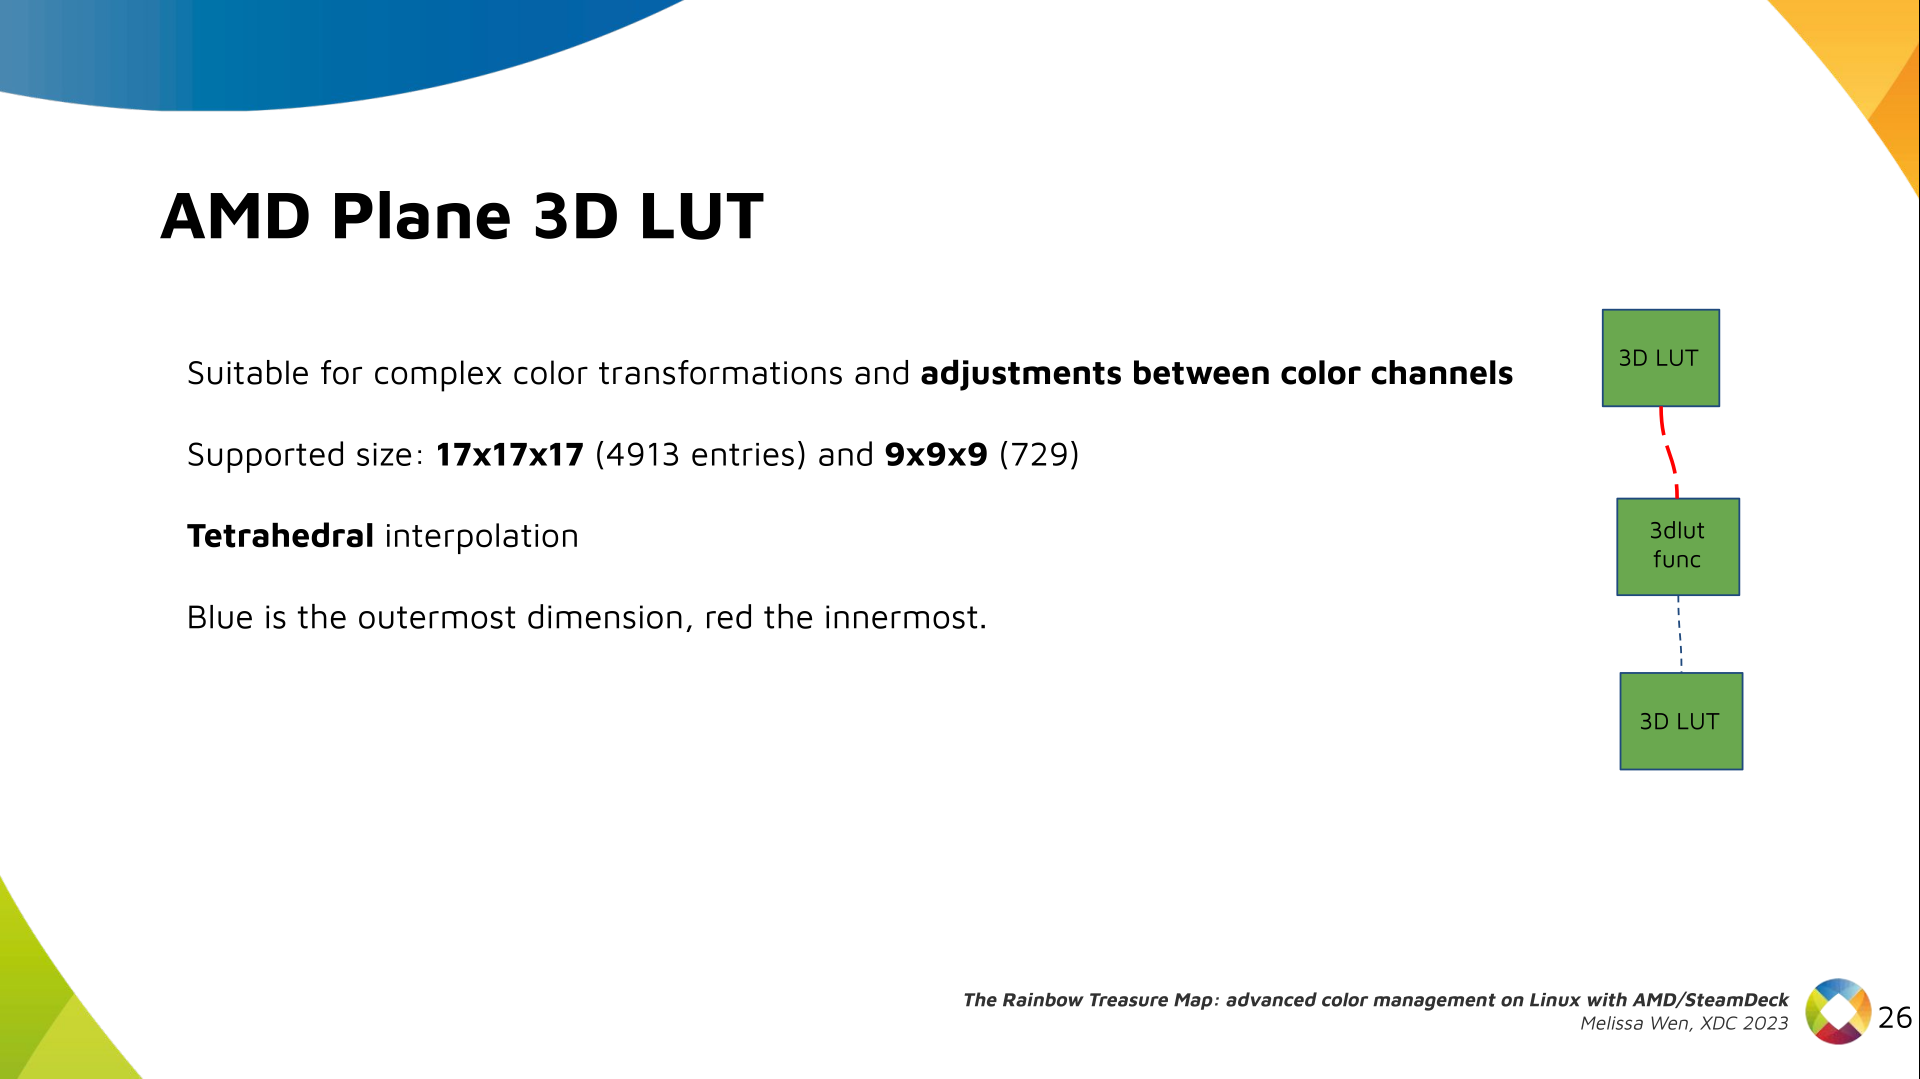
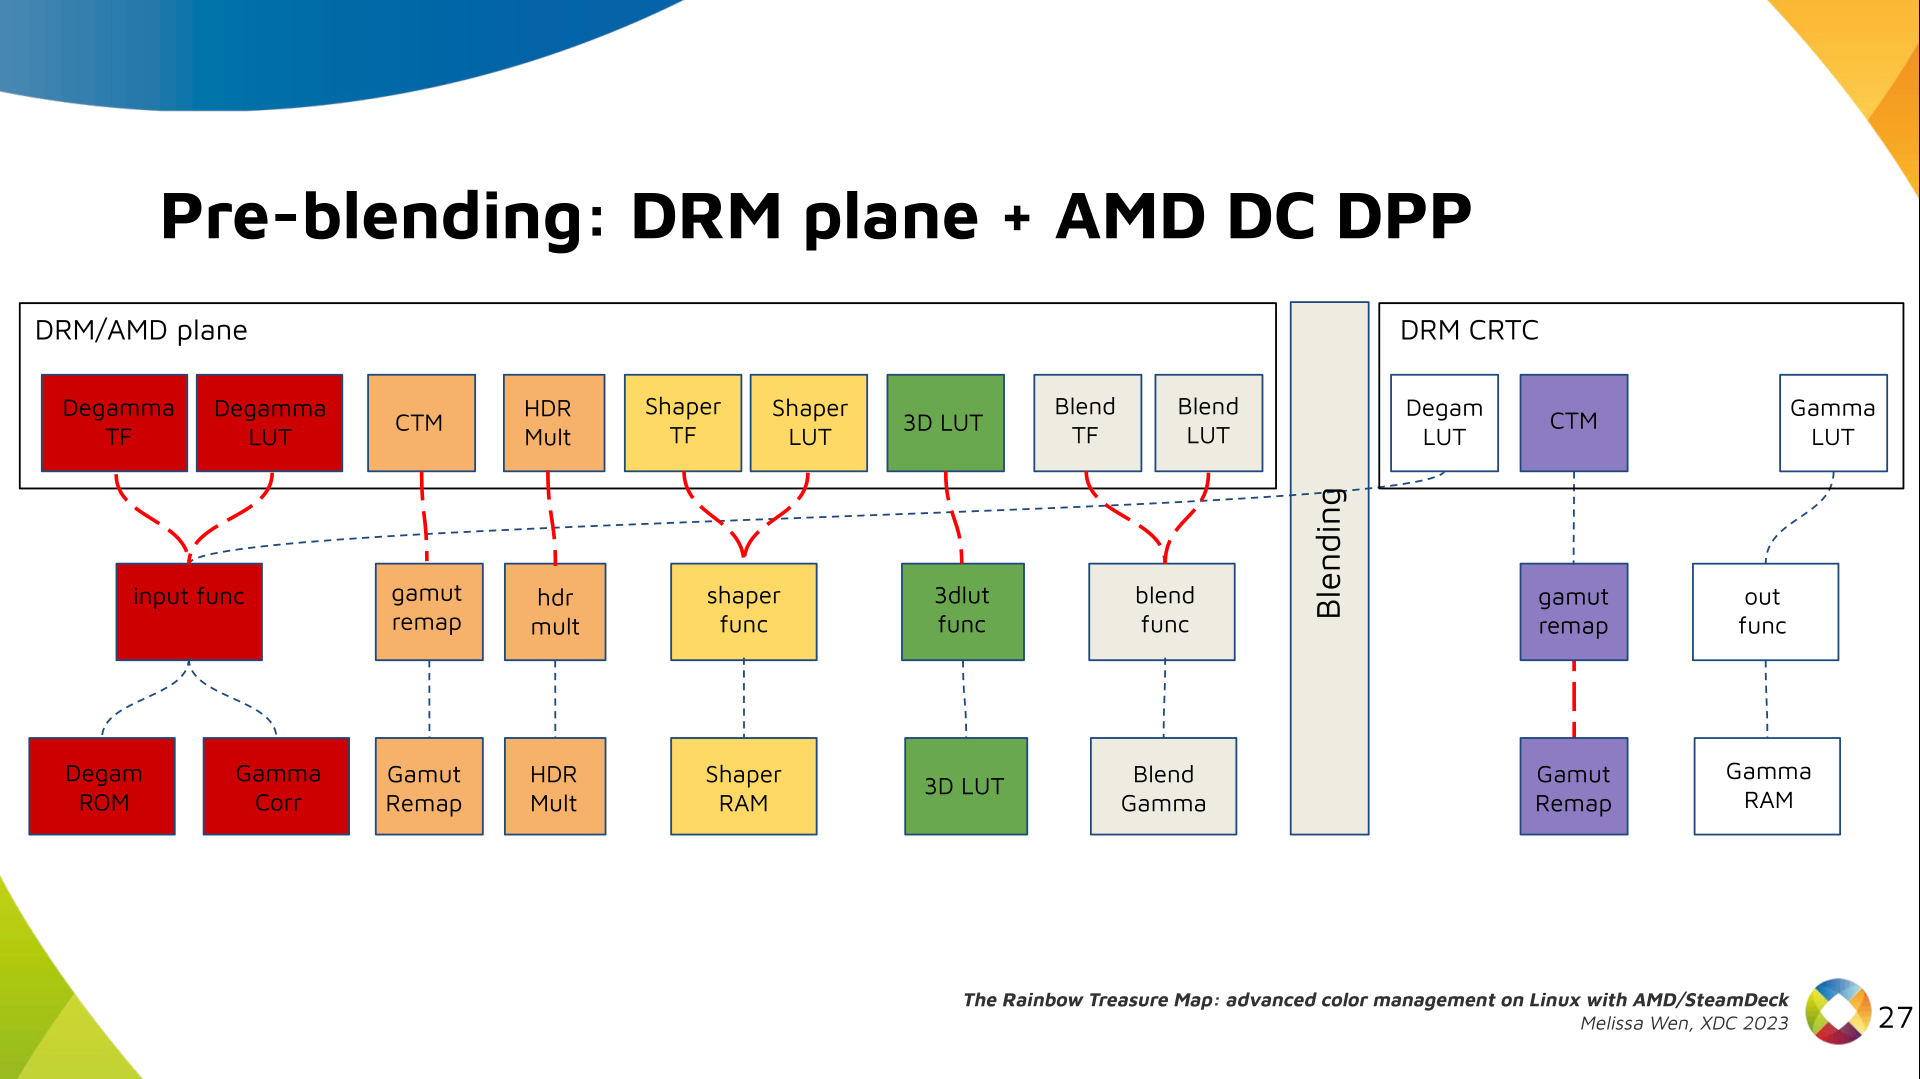
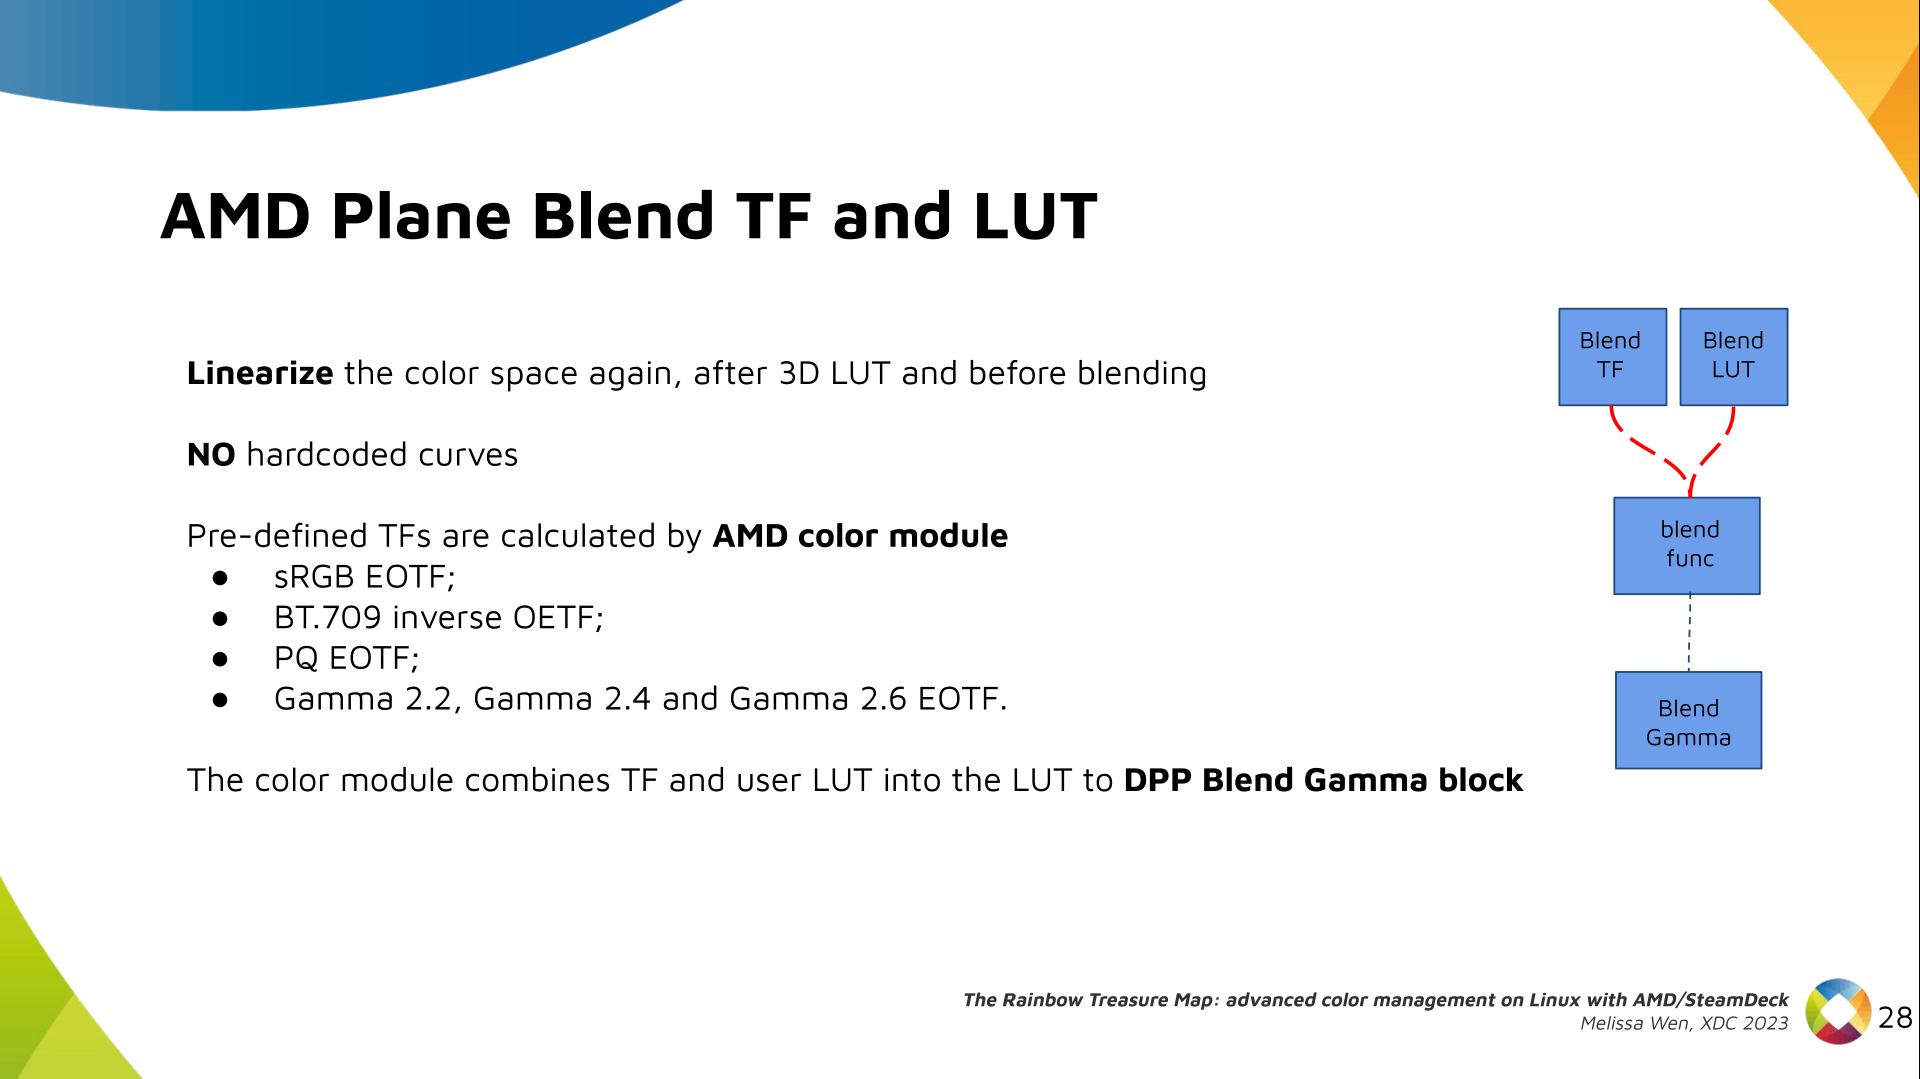
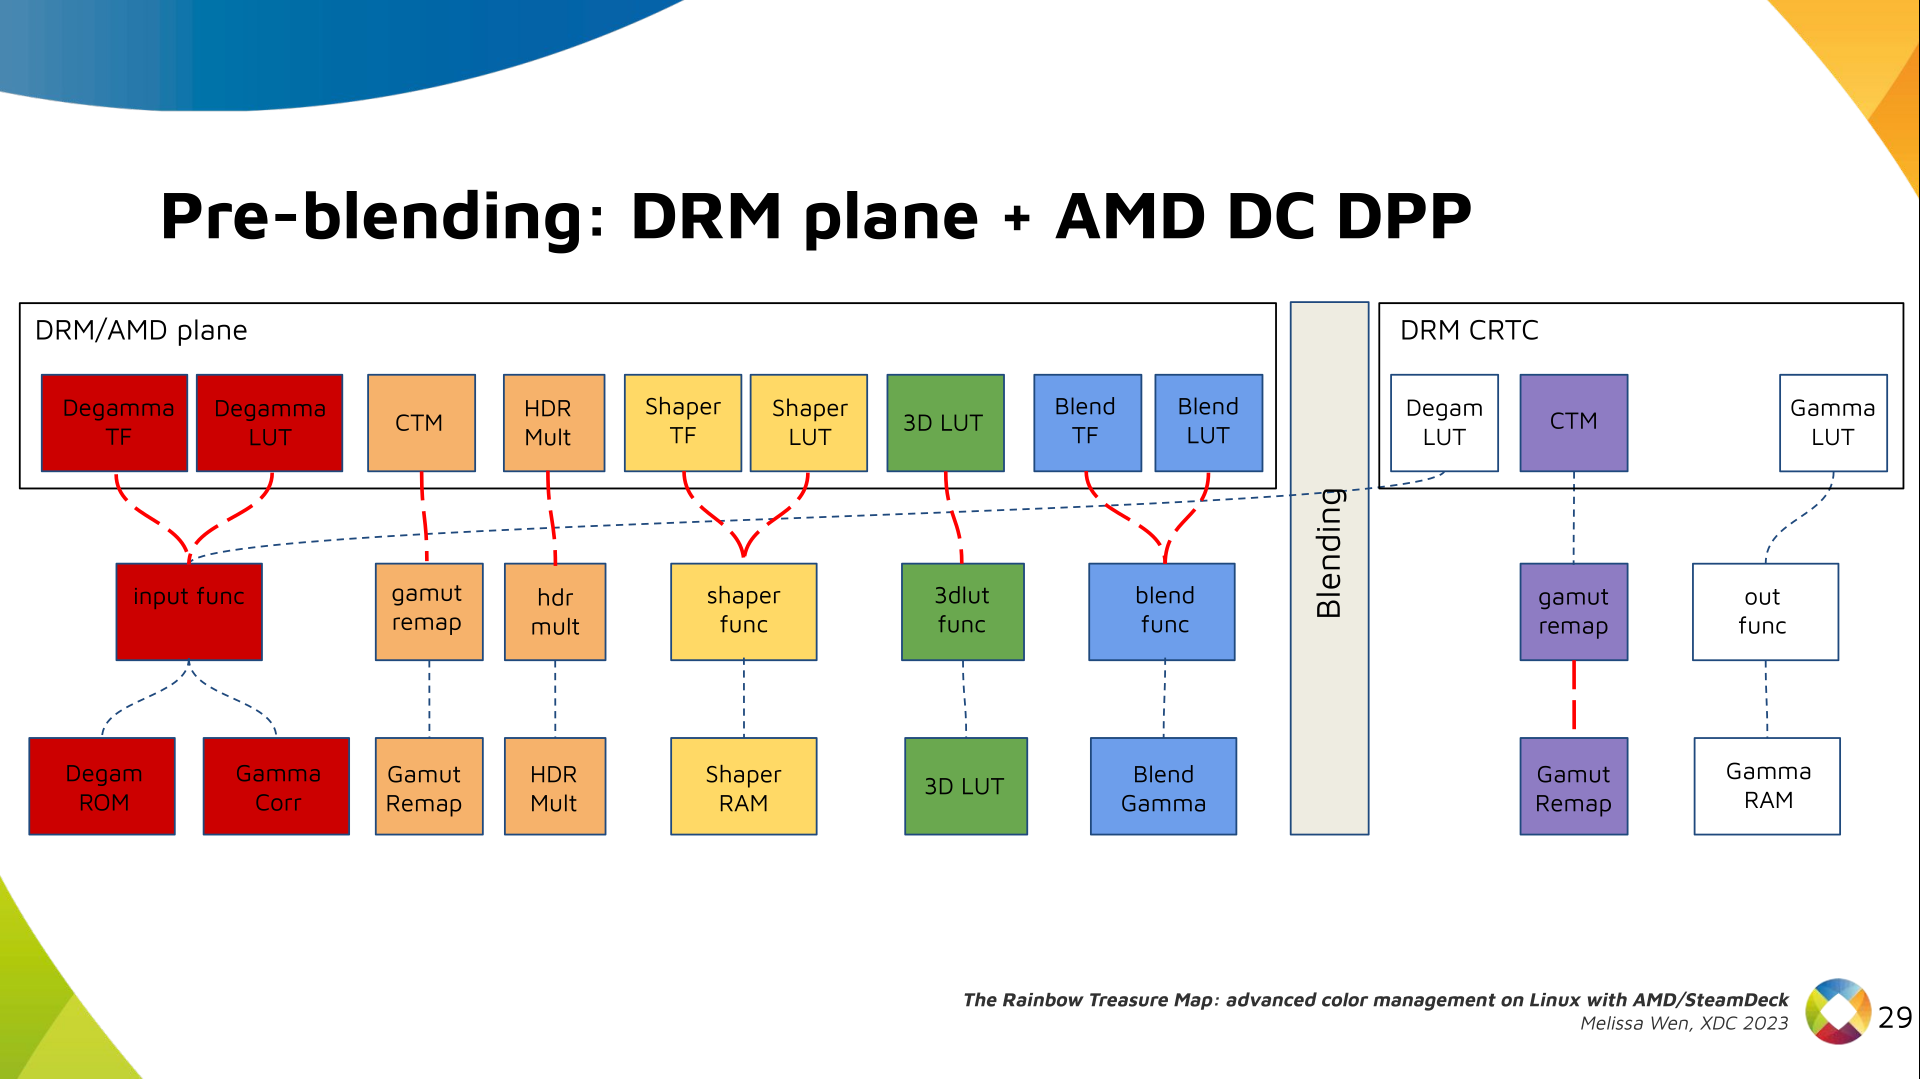

 Some years ago a customer needed a live ISO containing a customized
FAI environment (not for installing but for extended hardware stress
tests), but on an USB stick with the possibility to store the logs of
the tests on the USB stick. But an ISO file system (iso9660) remains
read-only, even when put onto an USB stick.
I had the idea to add another partition onto the USB stick after
the ISO was written to it (using cp or dd).
You can use fdisk with an ISO file, add a new partition, loop mount
the ISO and format this partition. That's all. This worked perfect for my customer.
I forgot this idea for a while but a few weeks ago I remembered it.
What could be possible when my FAI (Fully Automatic Installation)
image would also provide such a partition? Which things could be
provided on this partition?
Could I provide a FAI ISO and my users would be able to easily put
their own .deb package onto it without remastering the ISO or building
an ISO on their own?
Now here's the shell script, that extends an ISO or an USB stick with an
ext4 or exFAT partition and set the file system label to MY-DATA.
 Nextcloud is a popular self-hosted solution for file sync and share as well as cloud apps such as document editing, chat and talk, calendar, photo gallery etc. This guide will walk you through setting up Nextcloud AIO using Docker Compose. This blog post would not be possible without immense help from Sahil Dhiman a.k.a.
